The first part of my 2023 holiday decor tour features a stunning Victorian inspired tree and a sparkly faux fruit topiary!
Victorian Tree
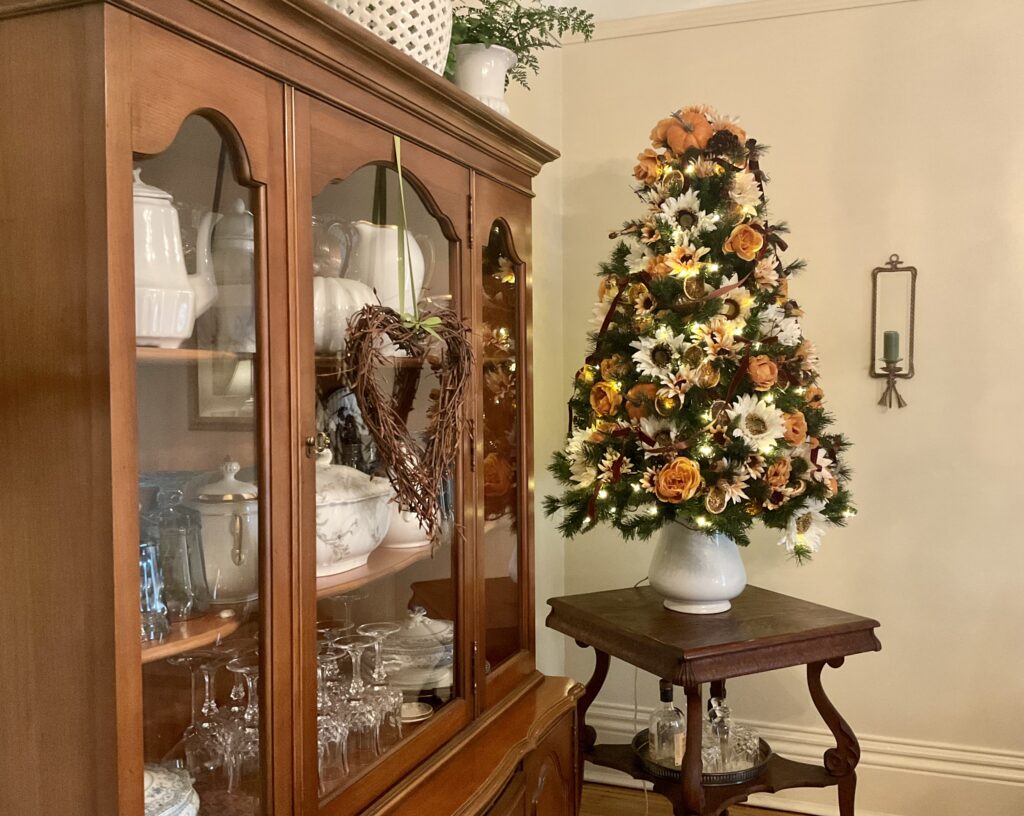
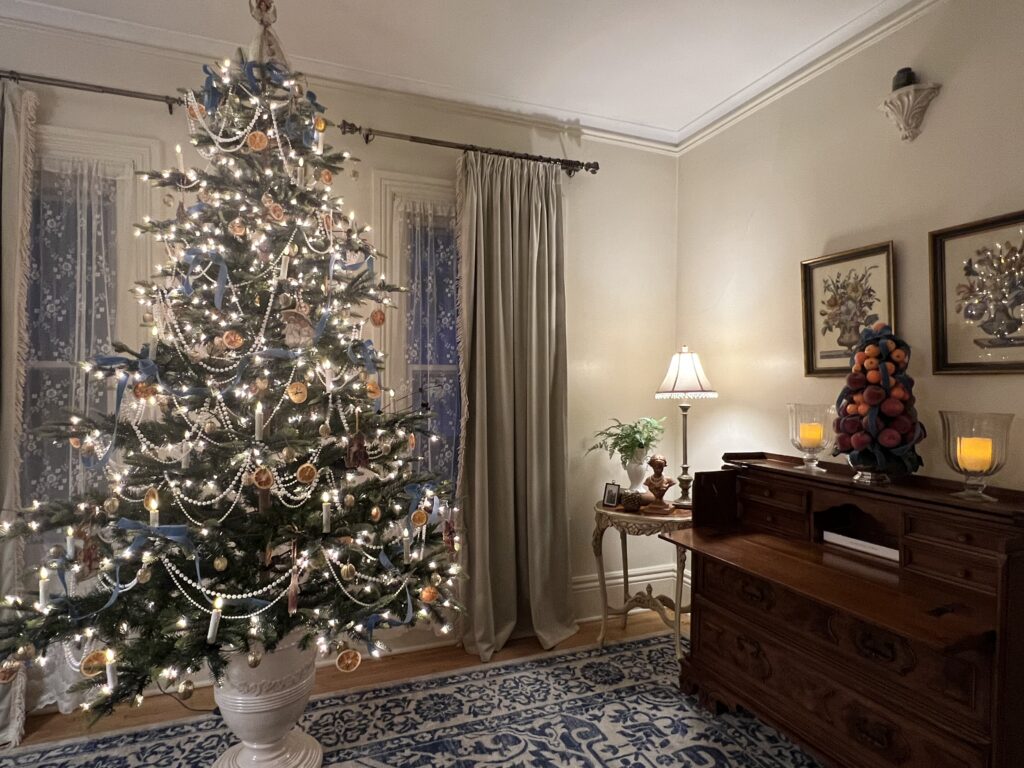
Our gorgeous main tree has pride of place in the parlor of our 1879 victorian. This room is perfectly suited to house a Christmas tree and when flanked by those long windows, the effect is truly glamorous!
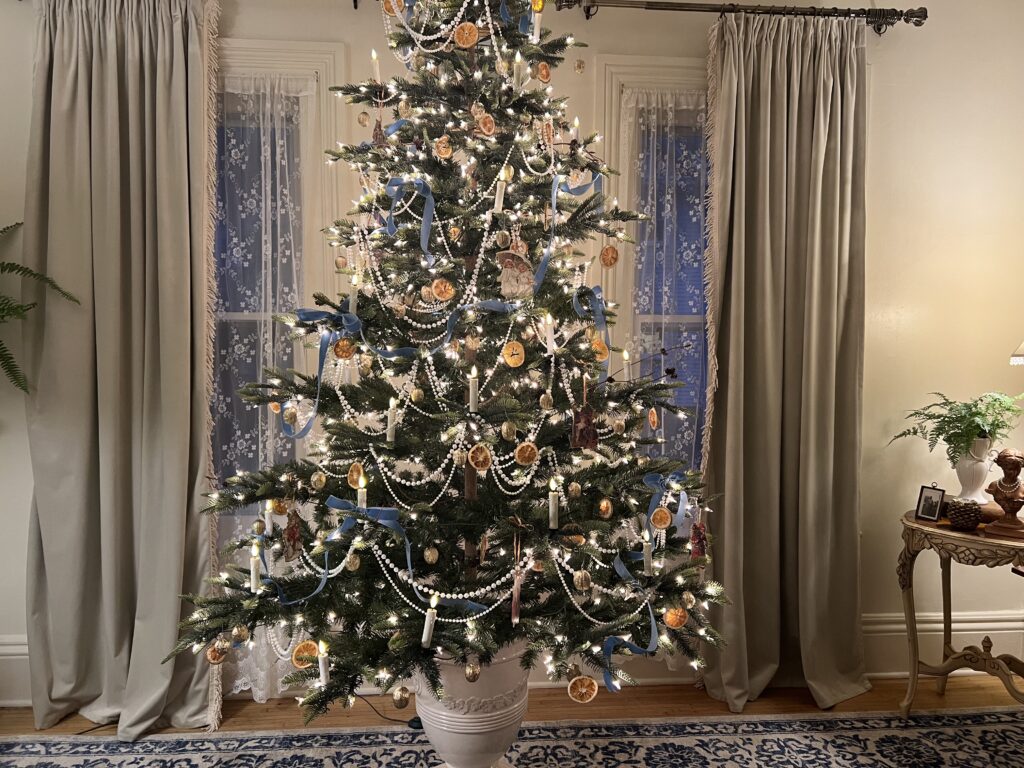
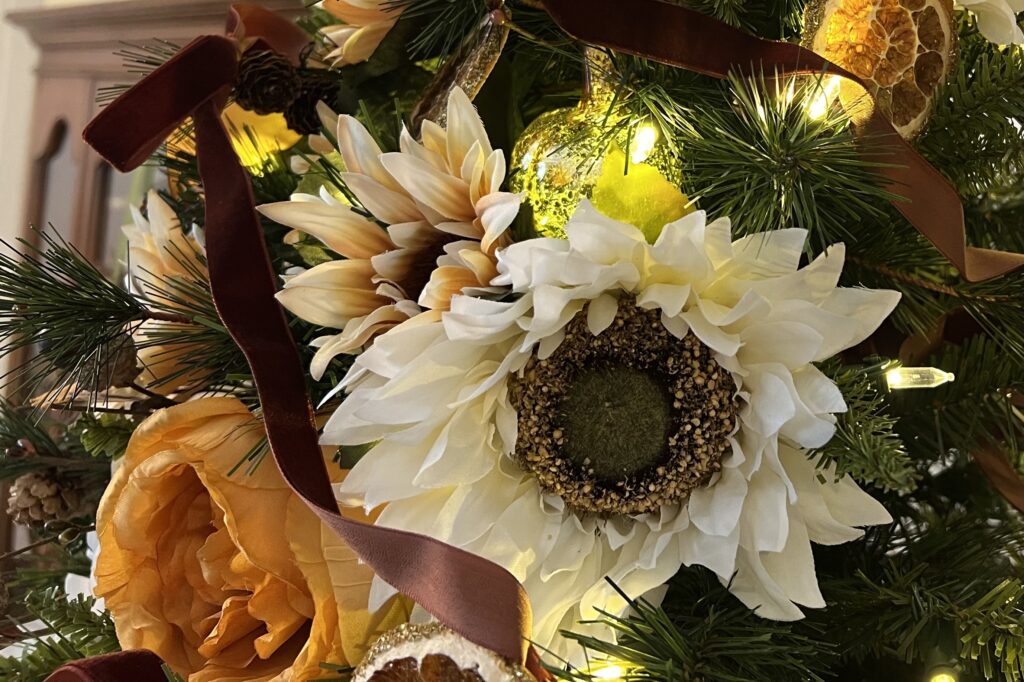
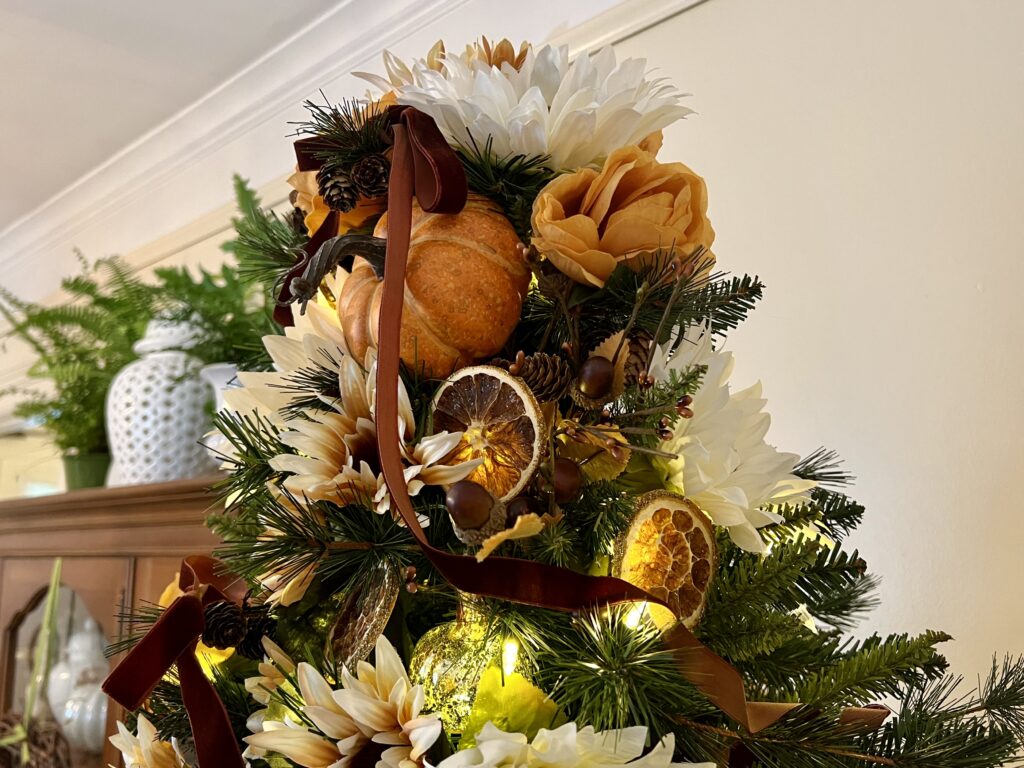
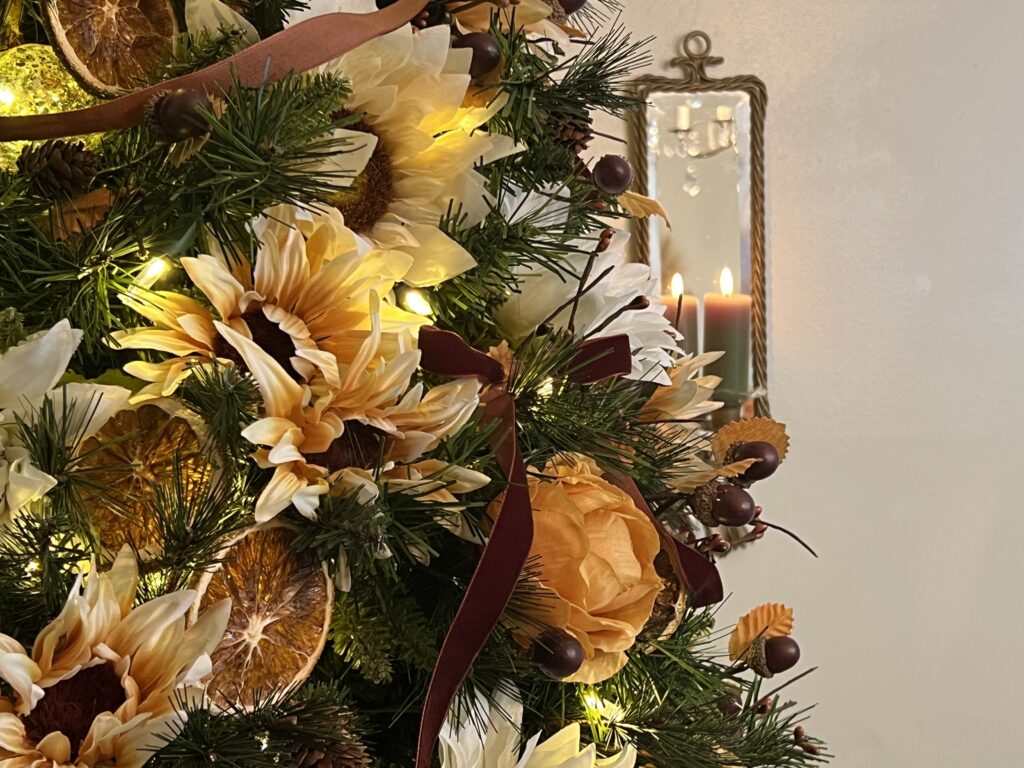
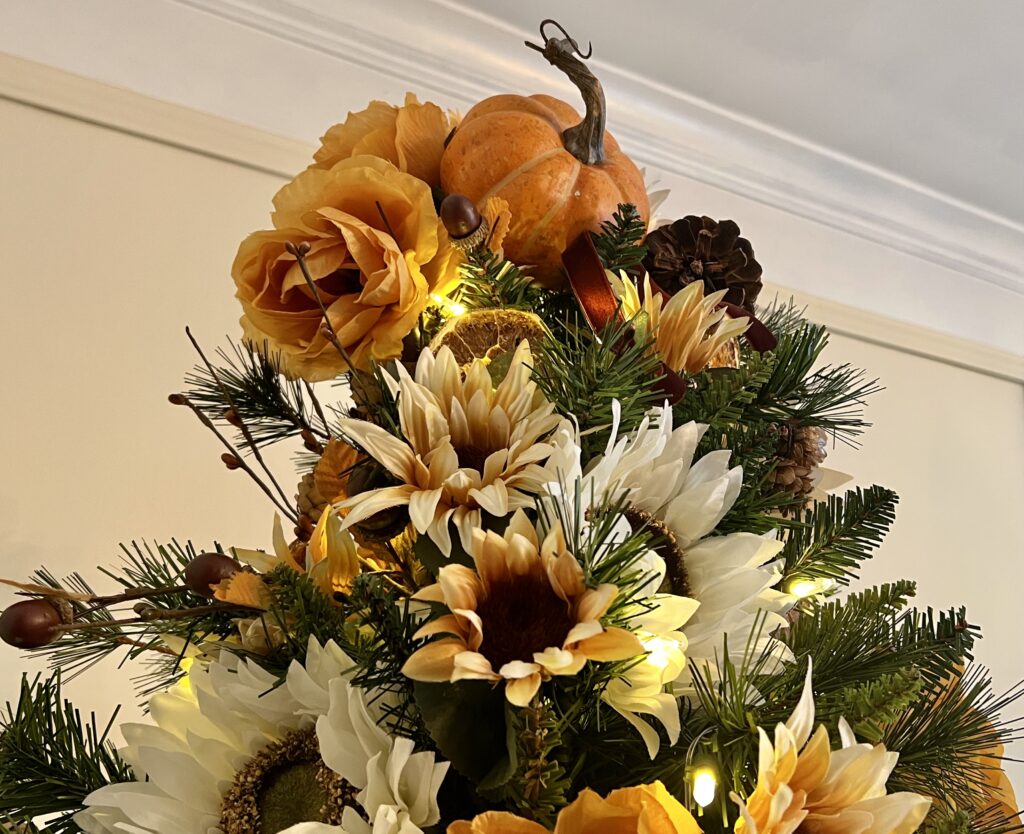
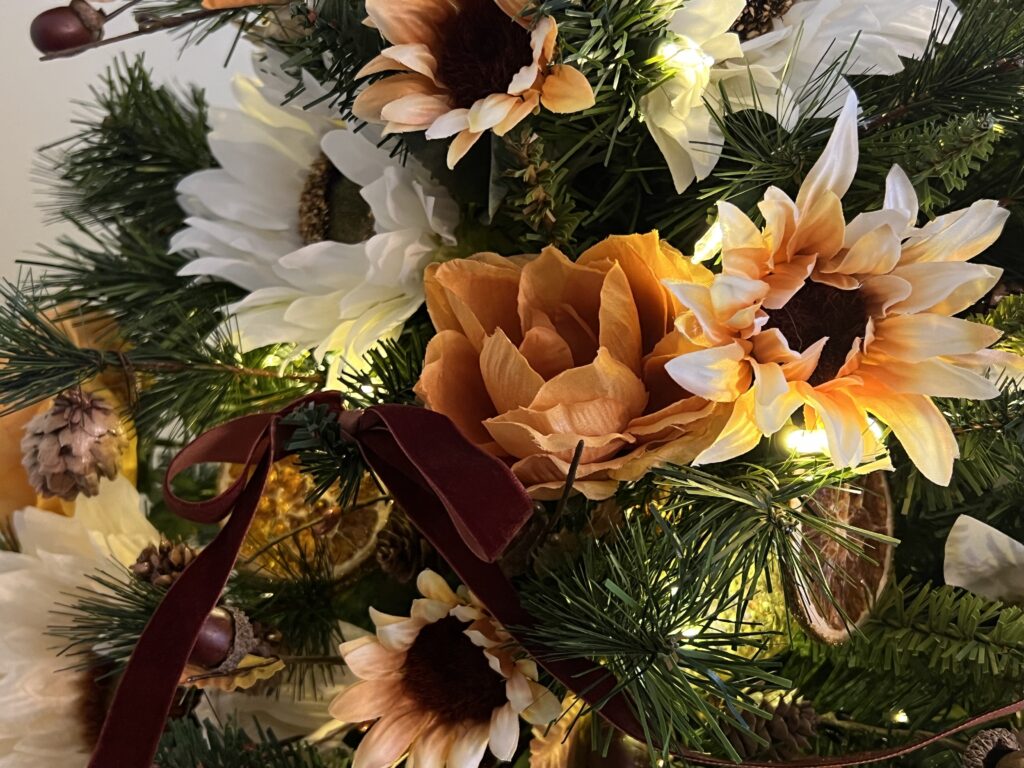
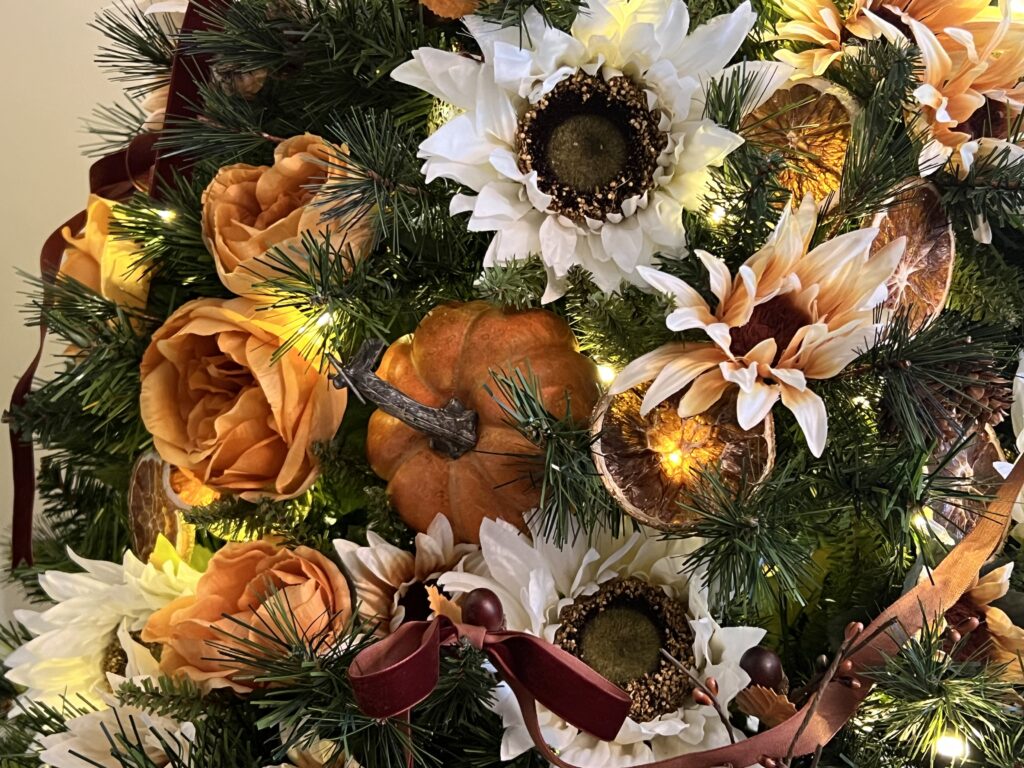
I loved putting this tree together. The effect I was going for was something romantic, feminine, and victorian inspired. After looking at lots of incredible extant period photos, I identified a few things I definitely wanted to use on this tree: Long sweeping garlands of beads or baubles, gilded walnut ornaments, dried fruit, bows, candles, and a fabulous angel or star tree topper!
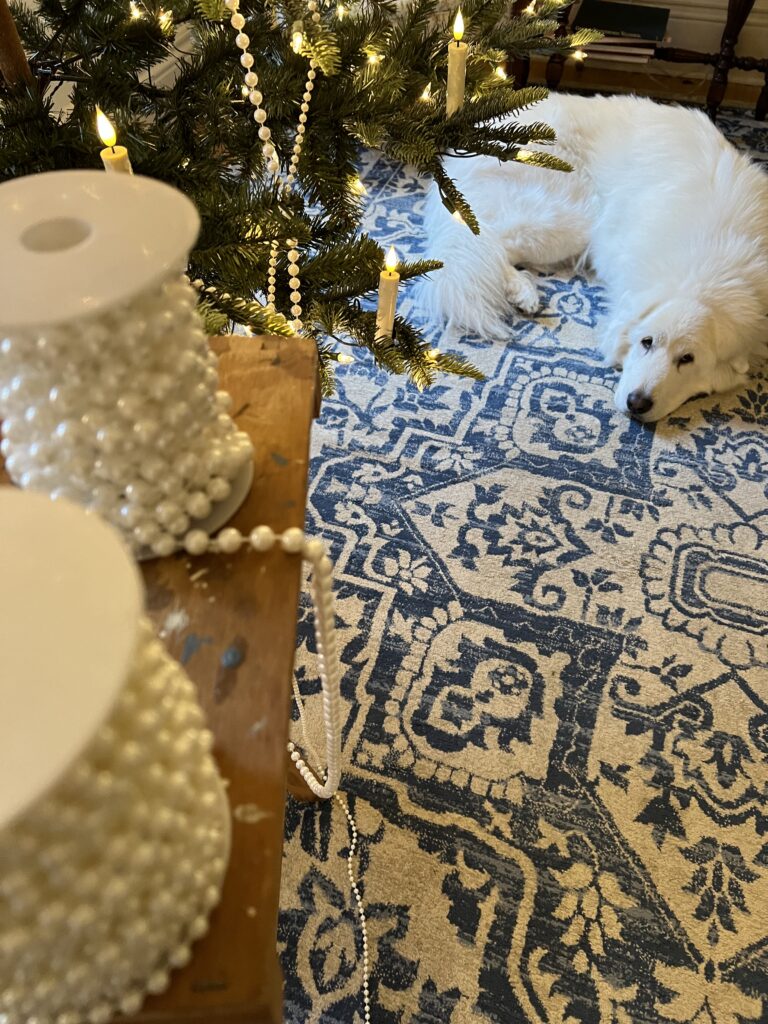
I decided to use faux pearl strands to replicate those beaded garlands. They were inexpensive and easy to come by – these came from Amazon – and by choosing two different sizes (6mm and 10mm) I was able to create some interest and variation in the strands.
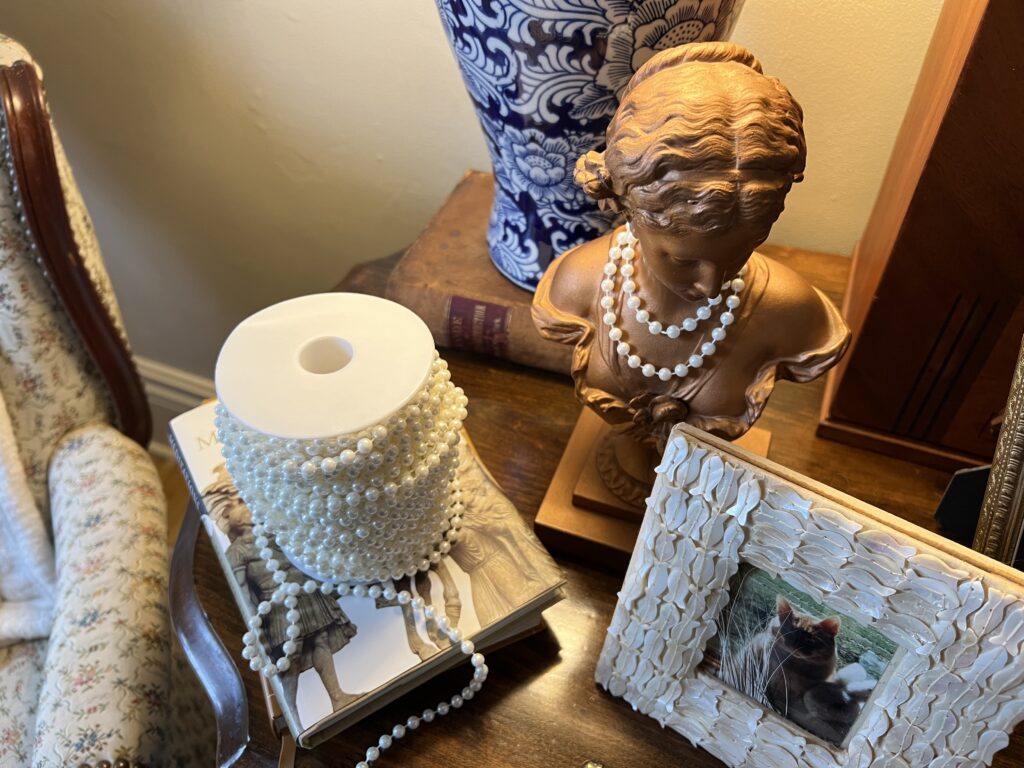
Even my little thrifted victorian lady bust got a pearl necklace!.
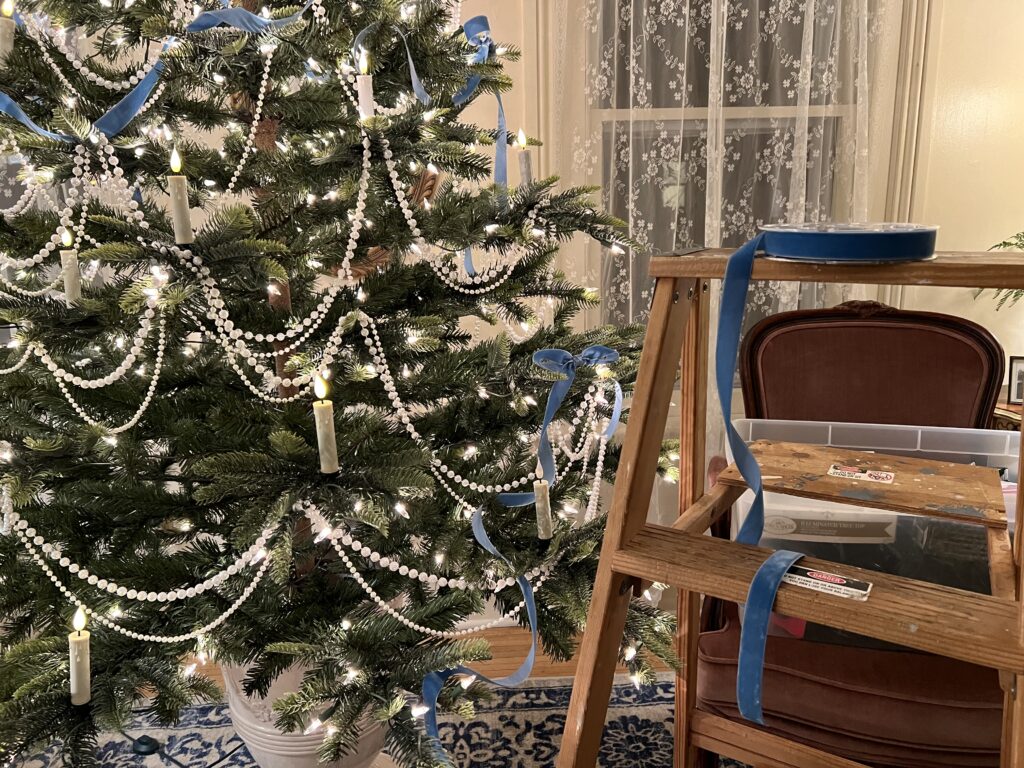
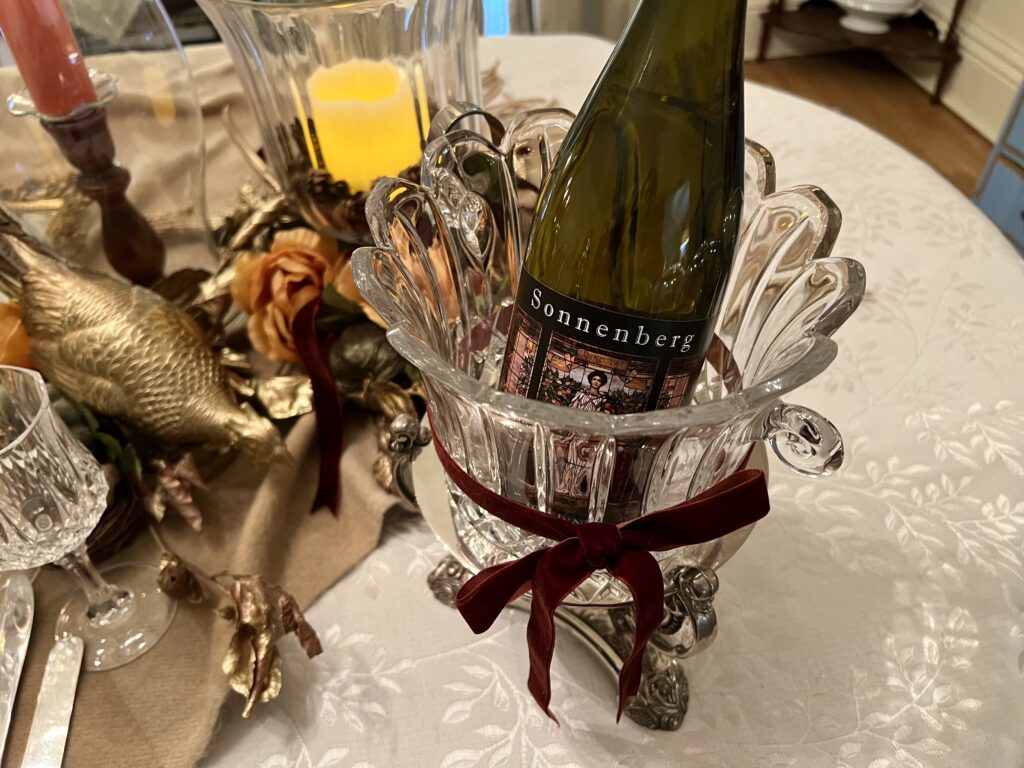
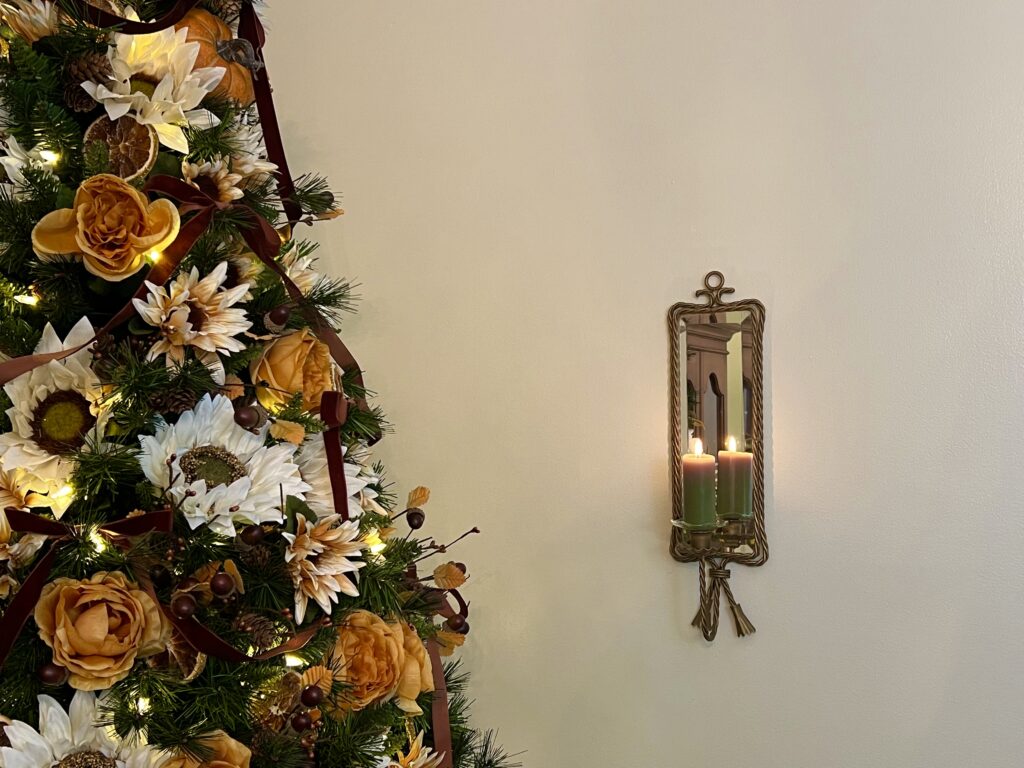
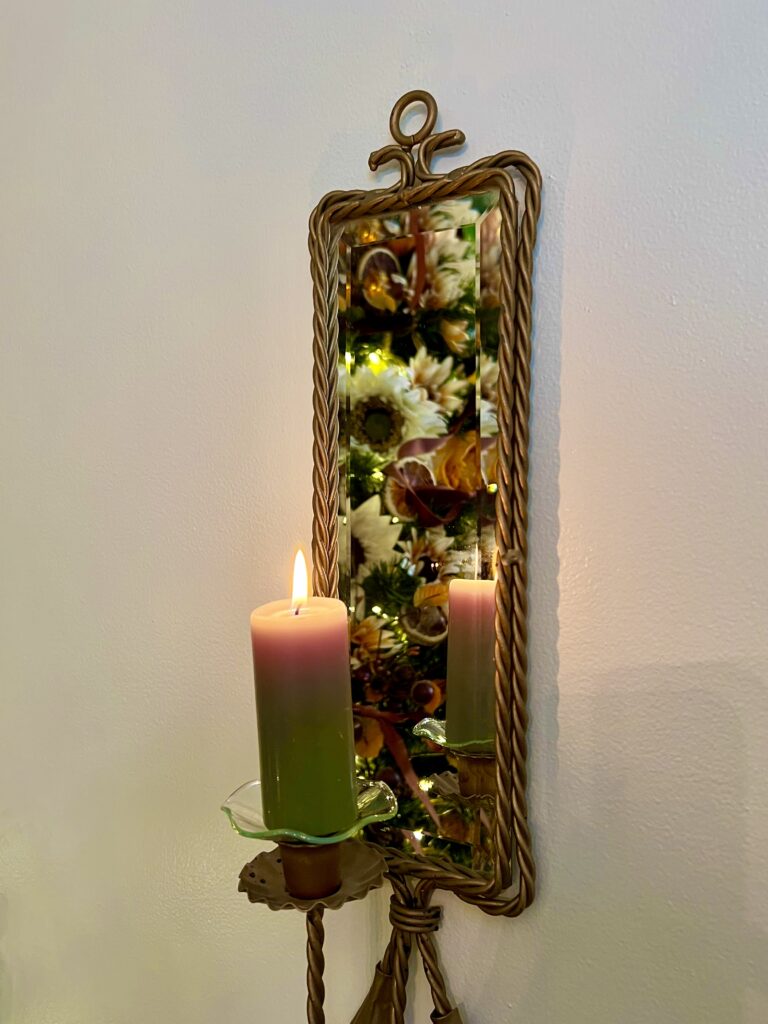
These incredible candles really added to the ambiance of this tree; they have a really beautiful warm glow and a great flickering setting that makes them … well.. flicker really softly and the overall effect is just fabulous. They were also quite inexpensive; I ordered 3 sets of 10 from amazon to give the tree a lush well-lit look!
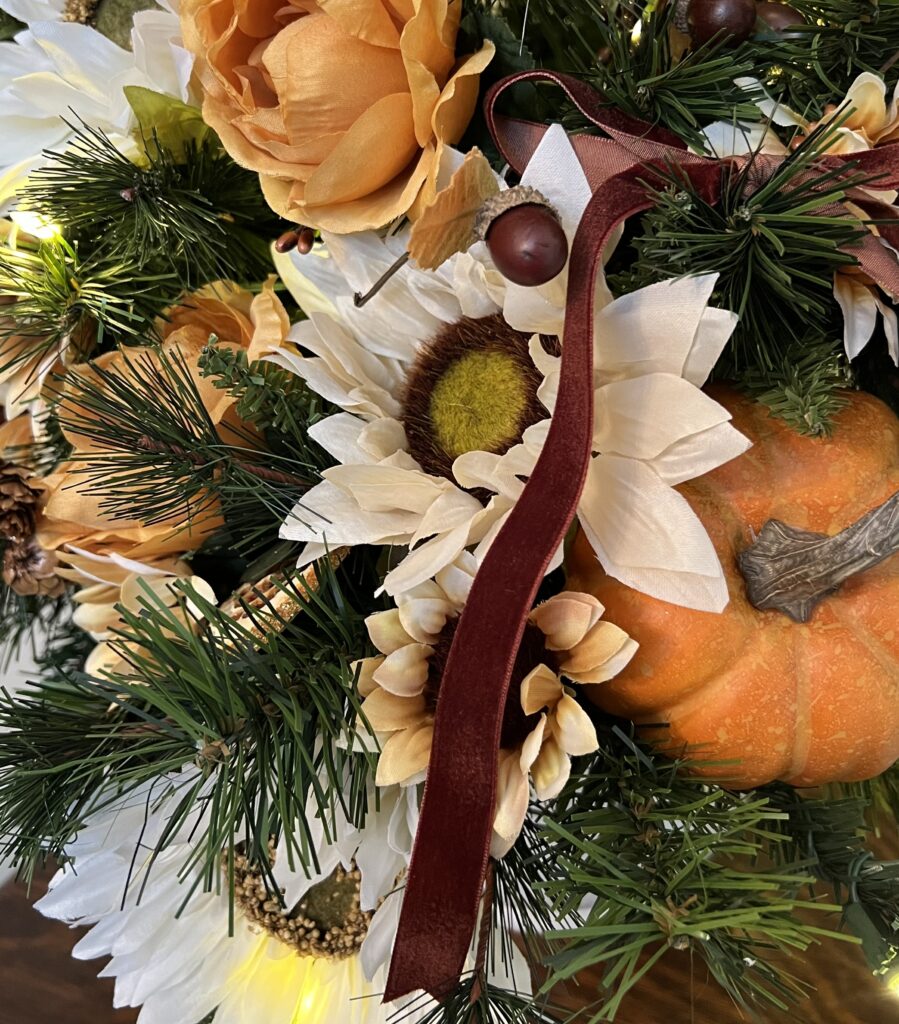
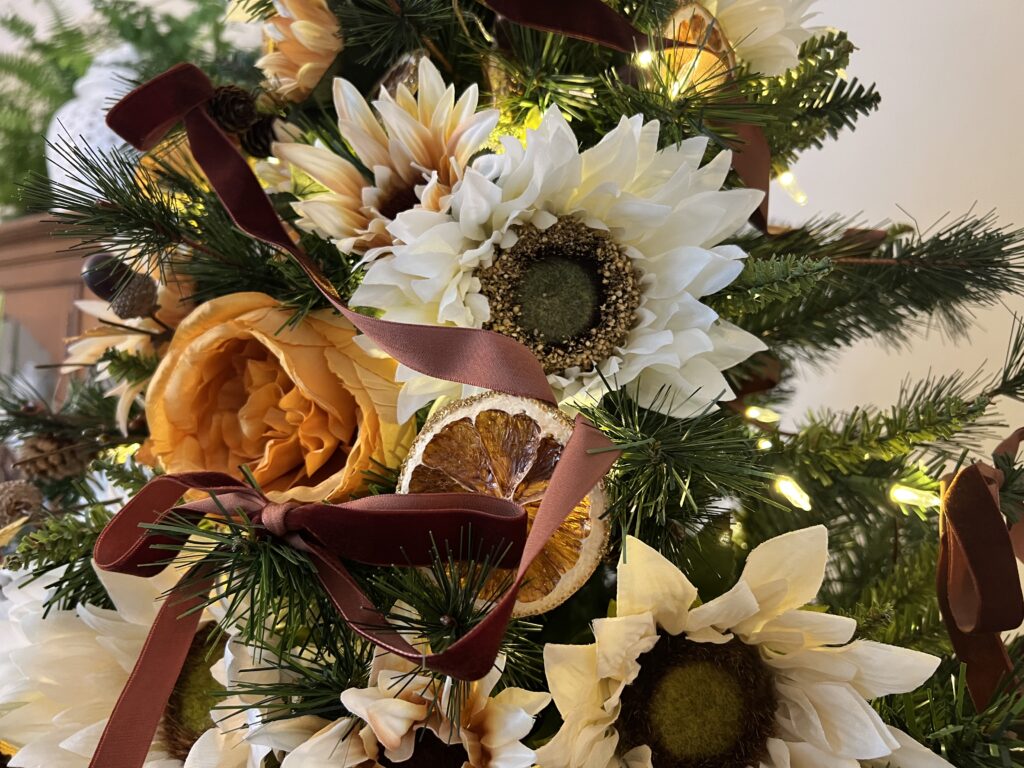
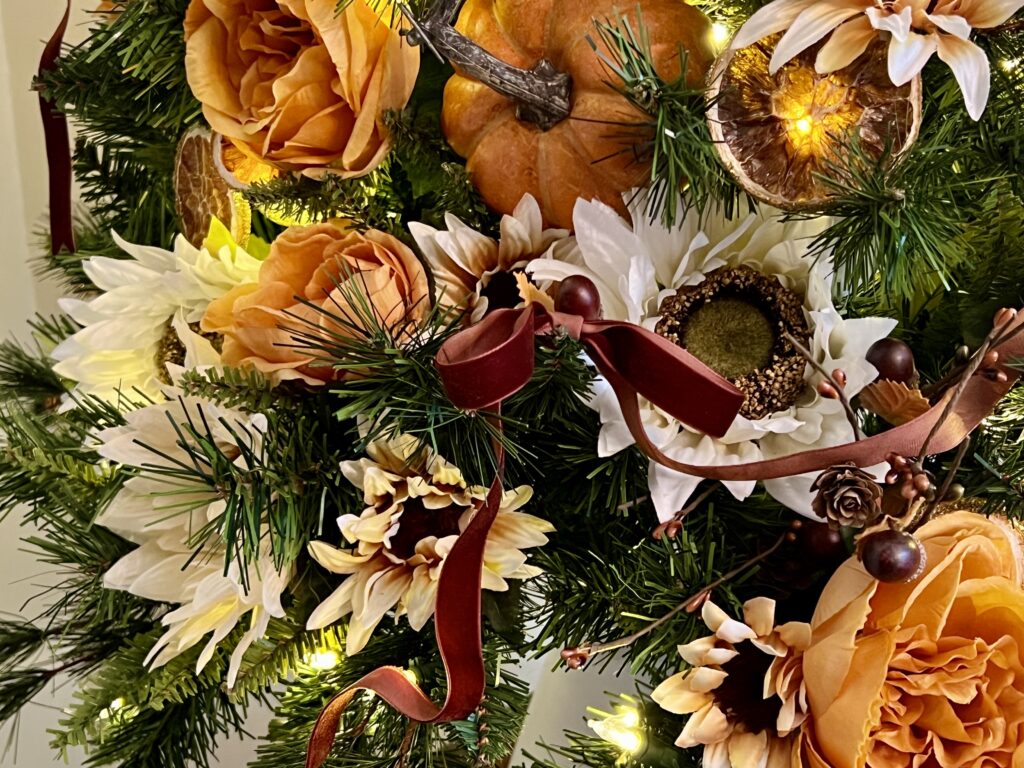
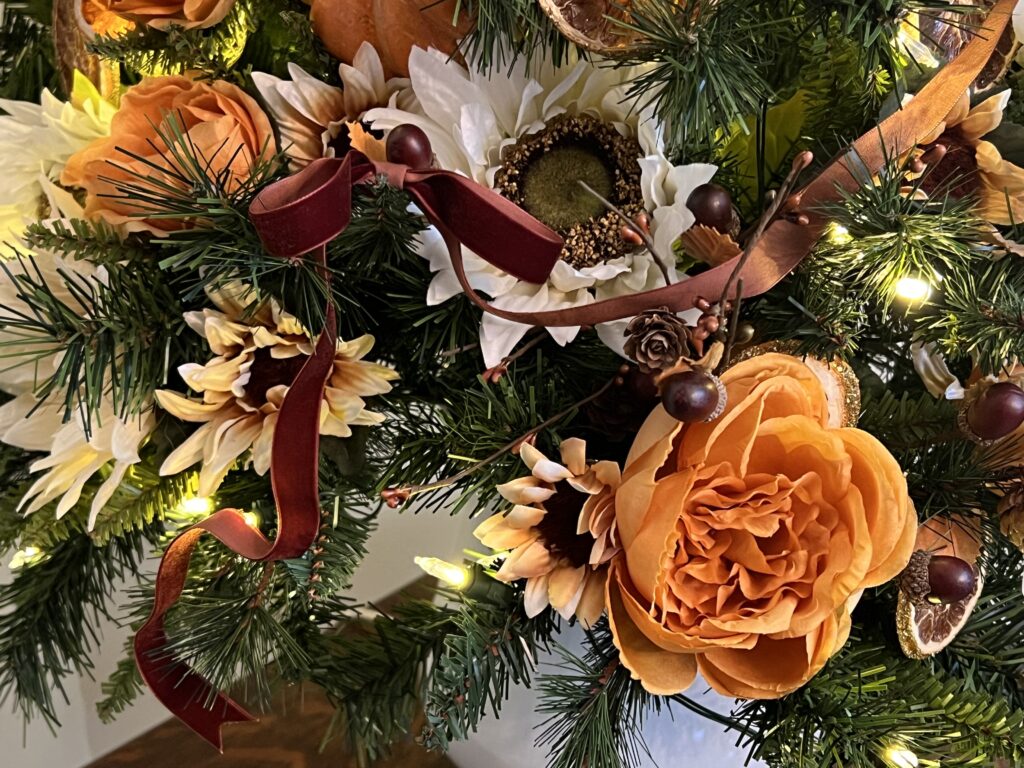
Next, the ribbon. This 5/8″ velvet ribbon is in the color “Williamsburg Blue”. It photographed well but it is honestly even prettier in person! It’s soft enough to loop into bows while also being stiff enough to hold some shape and drape elegantly through the boughs of the tree.
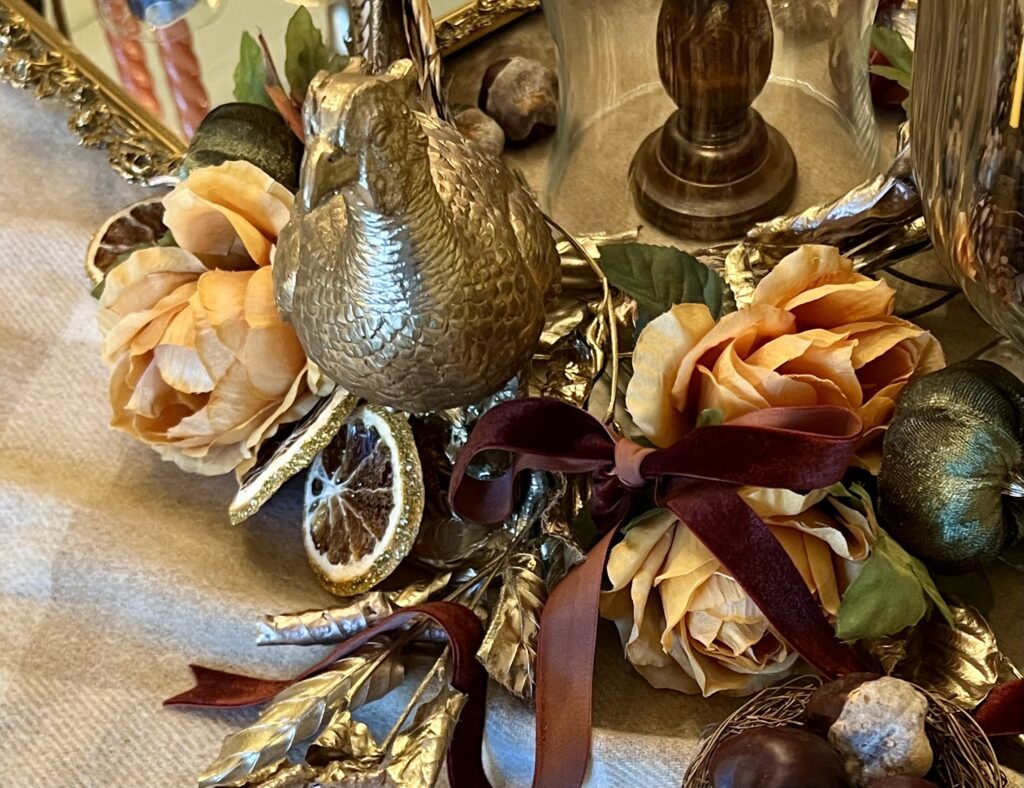
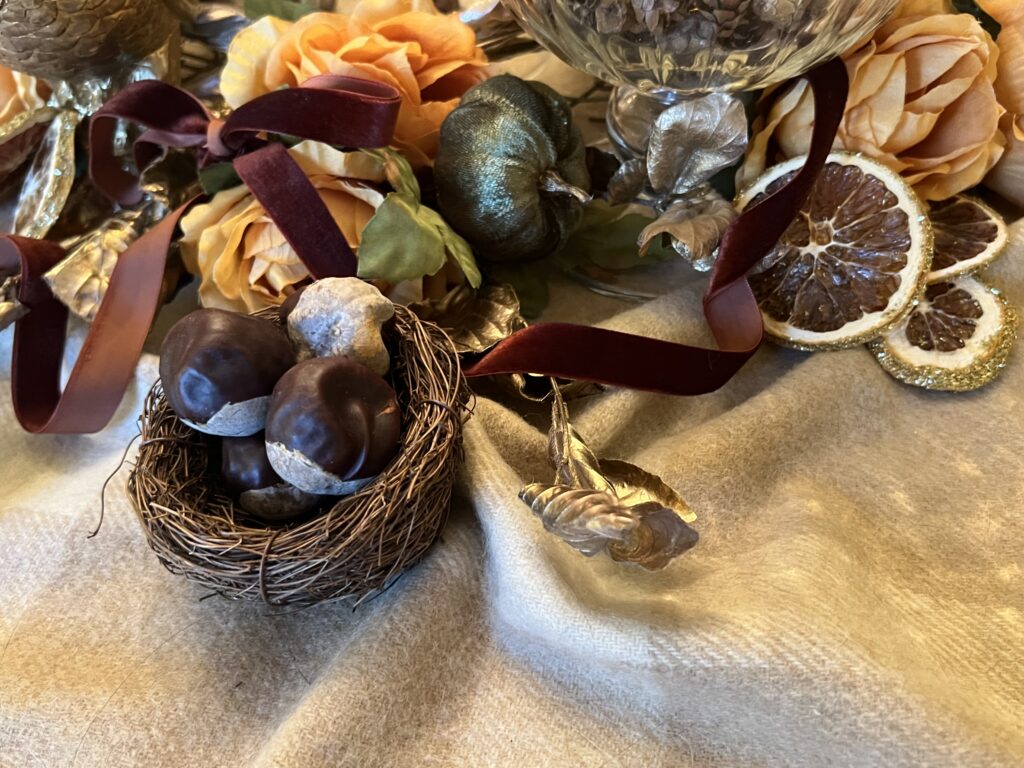
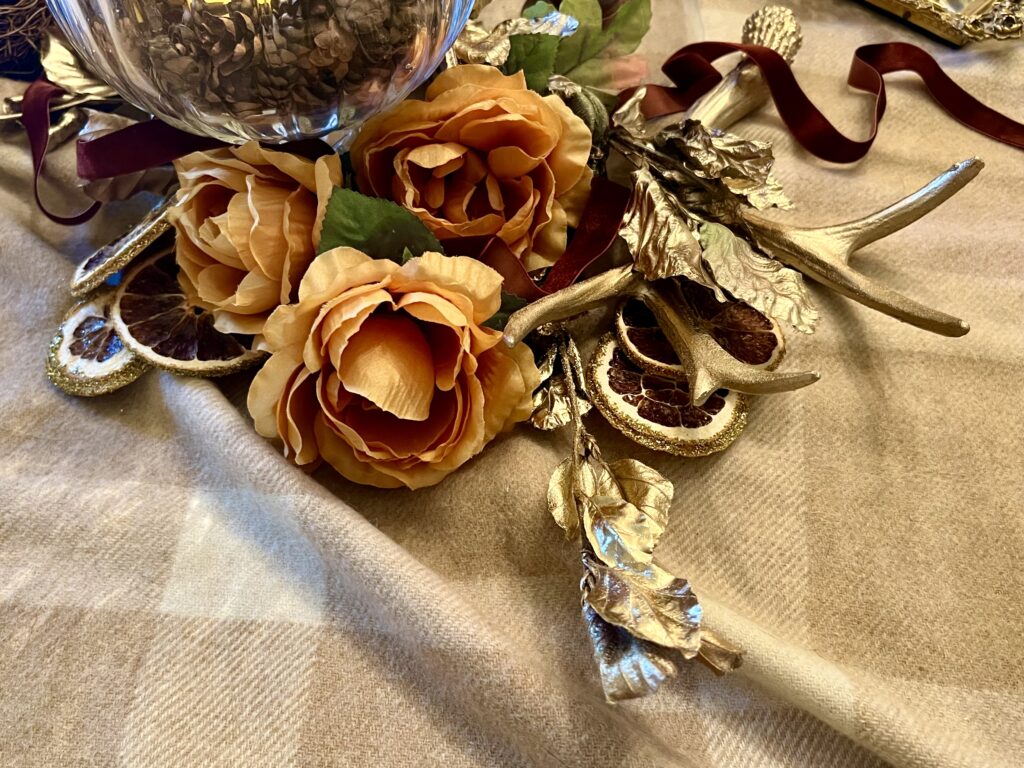
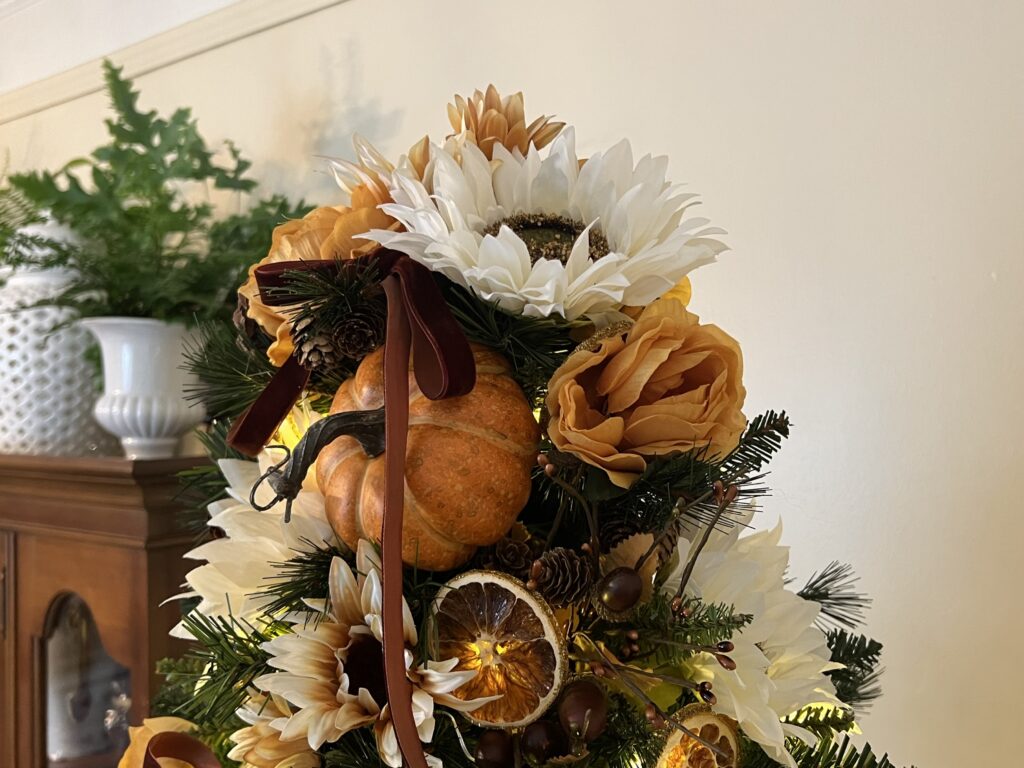
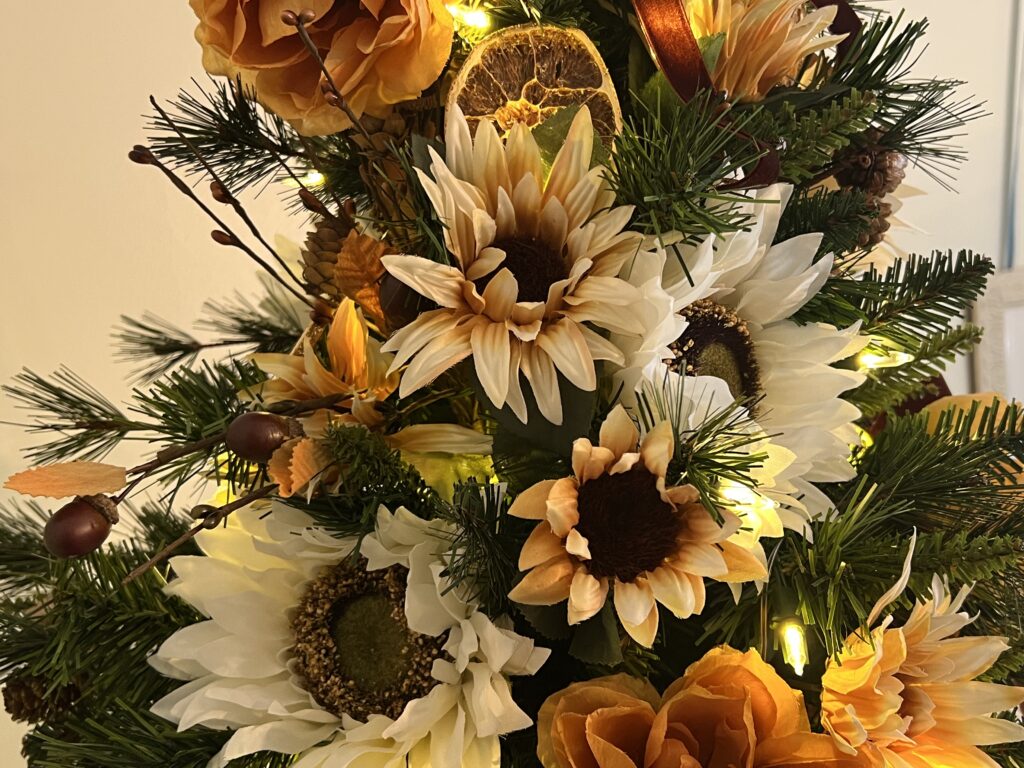
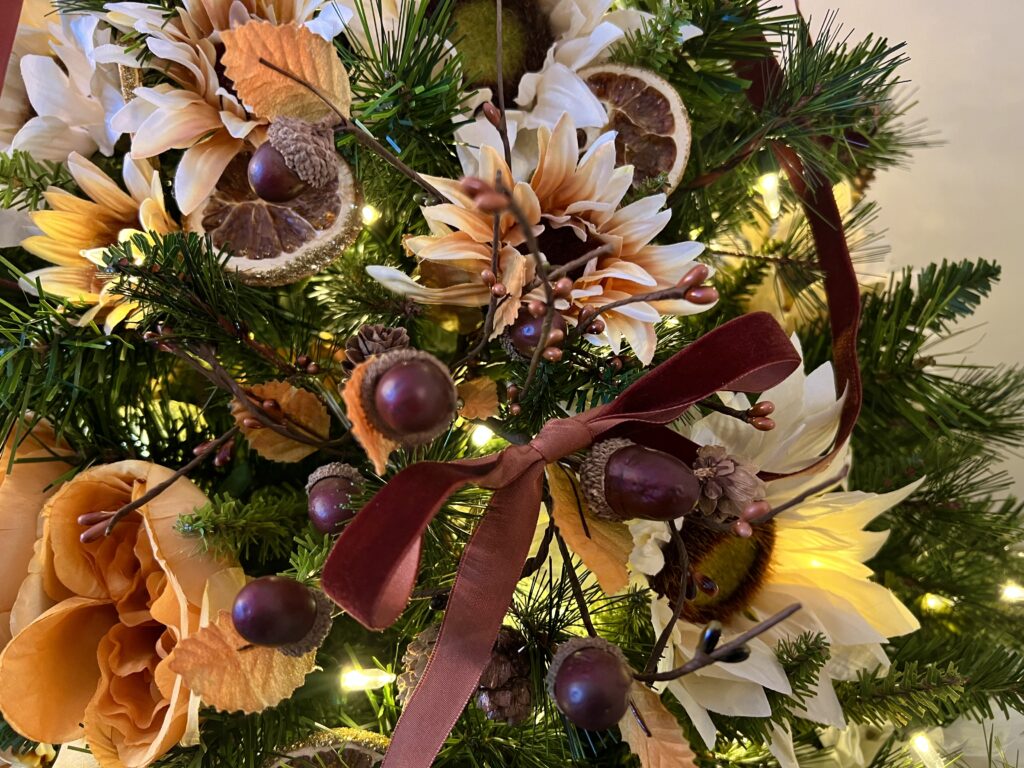
The final ornaments were victorian reproduction press-board dresden ornaments from eBay, diy orange slices with German glass glitter on the edges, and hand made victorian gilded walnuts.
See the videos linked below to see how I made them!


If you loved the way this tree came together, check out the video below! I show in detail how each layer adds to the magic and give a detailed overview of all the elements I used to create this beautiful tree!
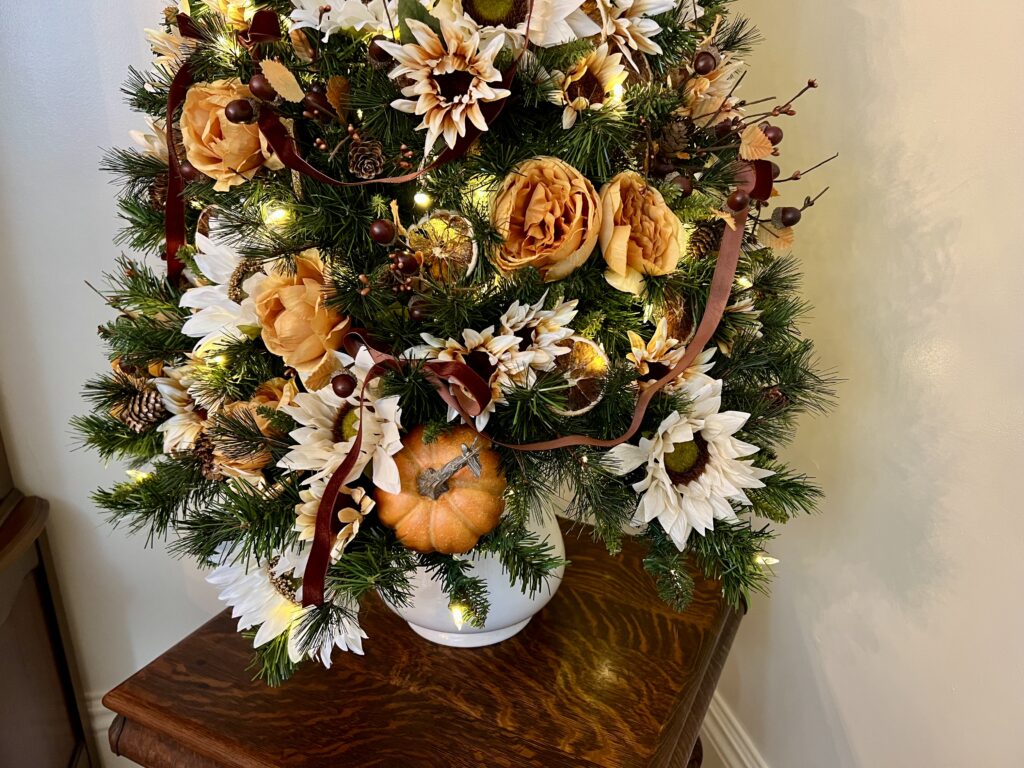
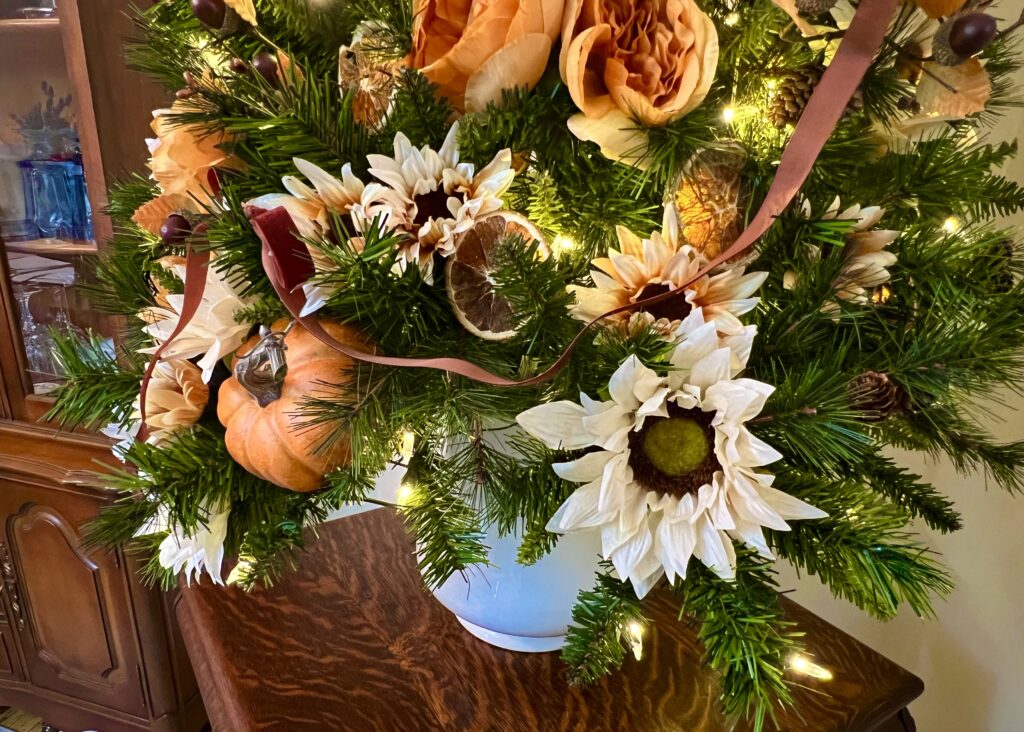
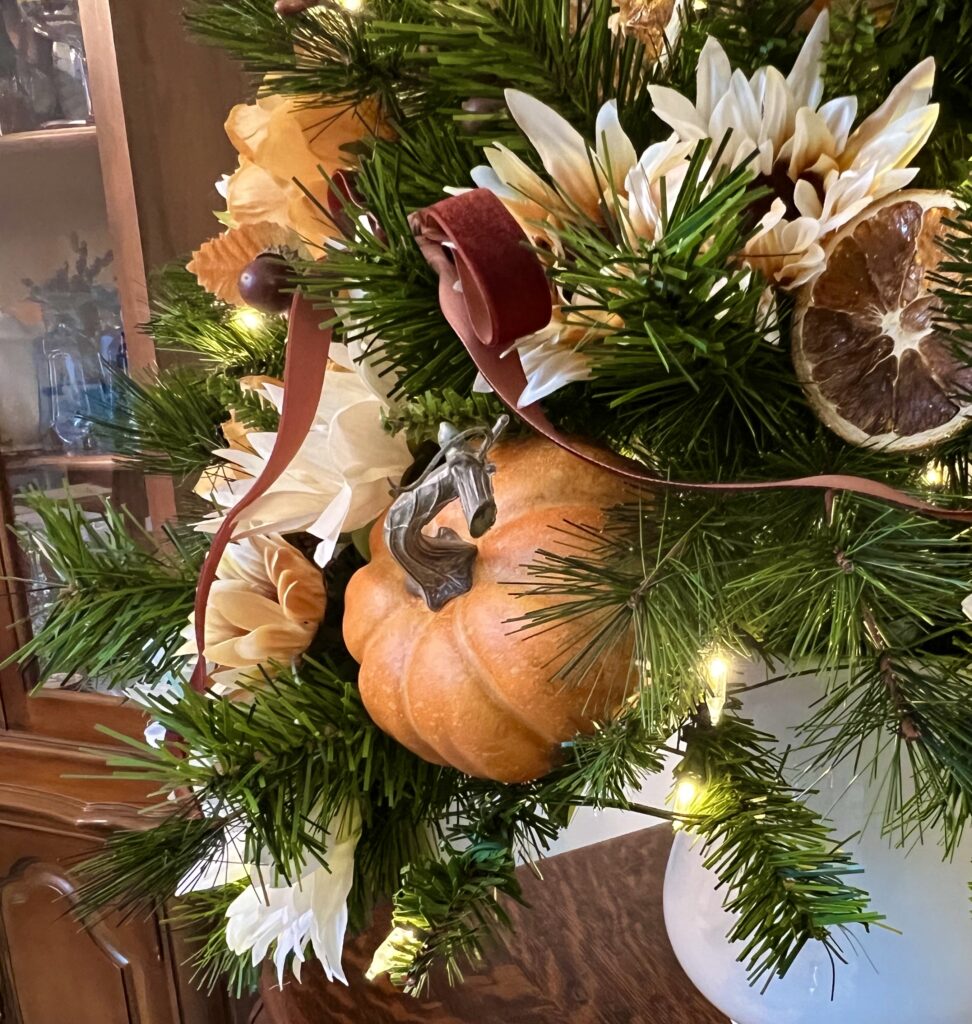
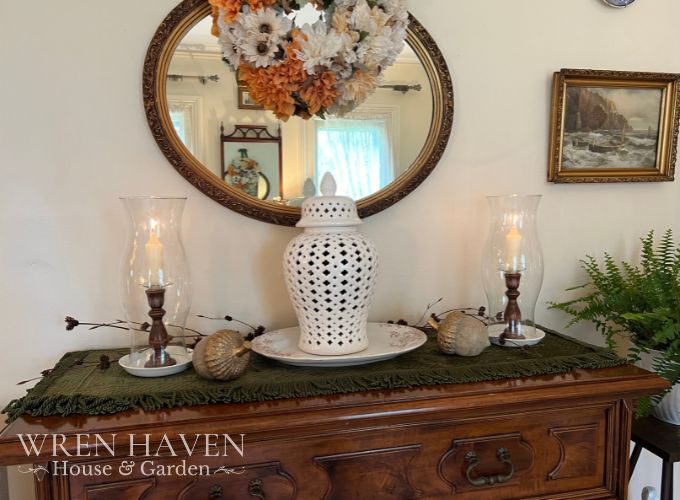
And last but not least… on the drop leaf desk sits a faux fruit topiary I made in the spirit of a Victorian Inspired Christmas!
I used faux fruit, German Glitter Glass, and blue velvet ribbon to create a unique decorative piece that will last for years to come! Check out the video below for details on how it came together!
I had lots of help decorating this year… these two were on duty making sure everything was up to their standards!