Today I’m sharing how I created a unique custom lamp shade by covering it with fabric!
In this post: Keep reading to find out how I turned a plain shade into this beauty! This was my FIRST attempt – if I can do it the first time, so can you!!
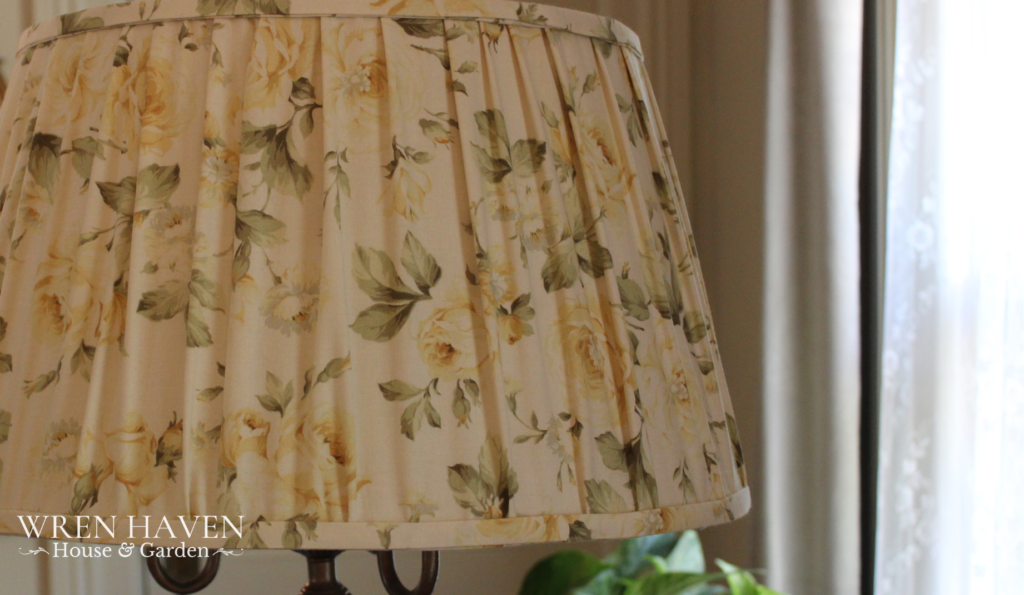
What I started With
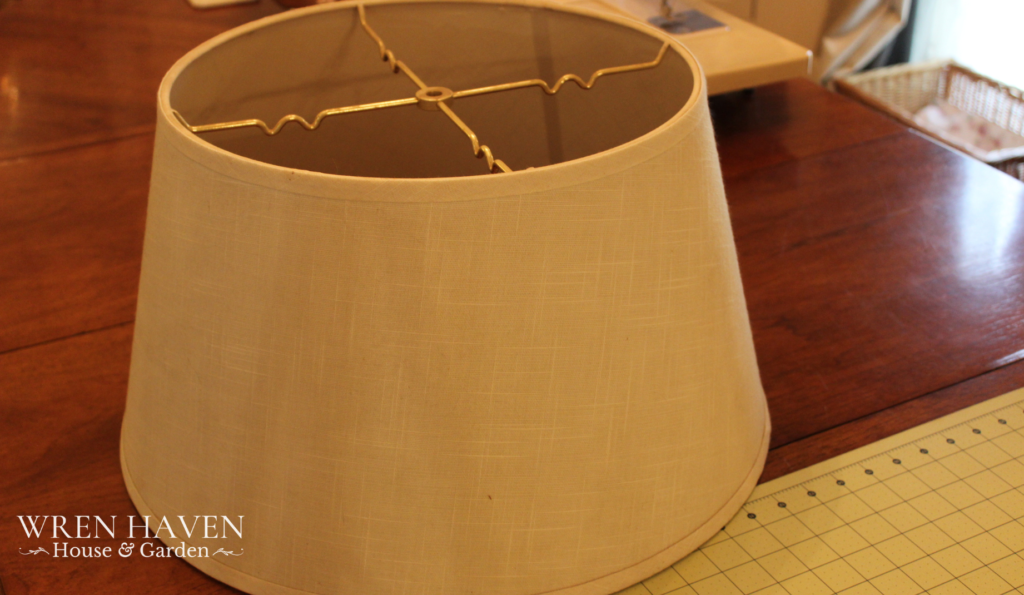
This plain cream linen-look shade served us well for many years but it was past time for an upgrade.
Wayyyy back in 2008 I worked at JoAnn Fabric and Craft as a way to (barely) pay the bills during college. As I’m sure you can imagine that for a creatively minded person it was tempting to buy every piece of beautiful fabric in sight!!
While that isn’t quite what happened, I did end up collecting some beautiful pieces. In an attempt to take my own advice about Using my Beautiful Things, I took a risk and used one of my most favorite stashed-away fabrics for this project.
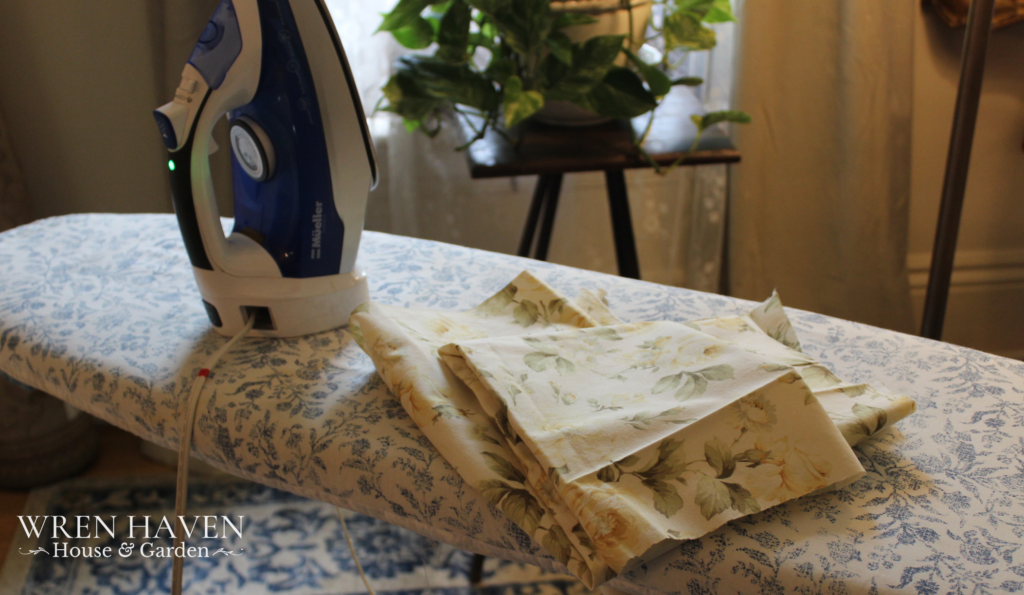
Choosing the Fabric
I knew I had the perfect piece for this project buried deep in my fabric bin. It had been in there so long that when I pulled it out it was terribly wrinkled. It needed the love of a good steam iron! Luckily about a year ago I purchased this Müeller “Professional Grade” Steam Iron and so far it has performed better than any other Iron I’ve owned yet. And at the time I’m writing this post it’s on sale for around $30 which is incredible.
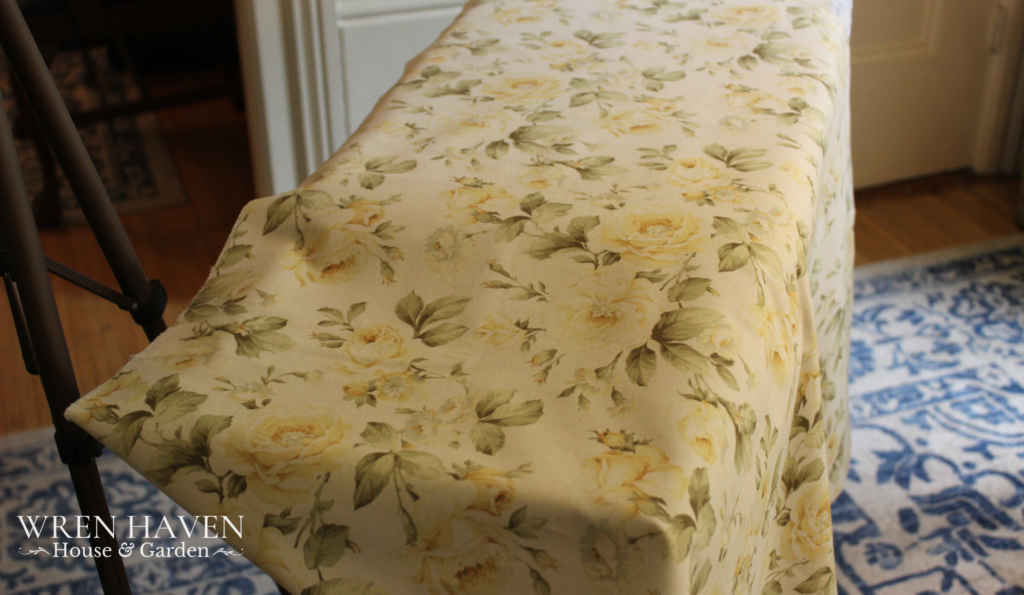
Pressing this beautiful fabric was so satisfying. Restoring the buttery soft nap of a piece of cotton or linen with a burst of fragrant steam definitely gives “immediate gratification”, in the words of one of my YouTube viewers. I use The Laundress ironing water and it makes ironing so much more enjoyable!
Supplies
- plain shade
- fabric of choice
- fabric pencil or marker
- pins or clips
- rotary cutter/mat/ruler (or scissors)
- hot glue gun (or fabric glue, iron activated hem tape)
- optional: sewing machine and/or needle and thread
Measuring and Cutting the Fabric
Unfortunately this was not an untouched piece of fabric. A small square section had been cut out at some point for another project leaving me with an oddly shaped piece. I laid the fabric loosely on the shade to get an idea of how much I would need to cover its width from top rim to bottom rim. I determined that a 12″ width was appropriate and trimmed the excess off with my rotary cutter, saving it to make the bias tape trim with later.
Because of the irregular shape of the original length of fabric I ended up with two separate sections of 12″ wide fabric that needed to be joined together to create one singular length. Seaming them may not have been necessary if I was creating a pleated shade. However I planned to cinch the fabric by gathering the whole piece to fit the shade, therefore one long piece would (theoretically) be easier to work with.
Having never done this before there was quite a bit of theorizing going on here 😆. In the end this proved to be a good choice and I’m glad I followed my gut.
Joining Sections With A French Seam
French seams are so under-rated! They are such a simple and tidy way to join two lengths of fabric while concealing the raw edge. You may also know them as an invisible seam, which is an apt name.
In this case I used a French seam to join the two lengths of 12″ fabric into one long singular piece. To make a French seam, first sew the wrong sides together, then turn it so the right sides are together and run a second line of stitches slightly wider than the first to encapsulate the raw edge.
I didn’t plan to properly explain how to run a French seam so my photos weren’t taken with that illustrative purpose in mind. Perhaps I’ll do that in the future so I can link to it here.

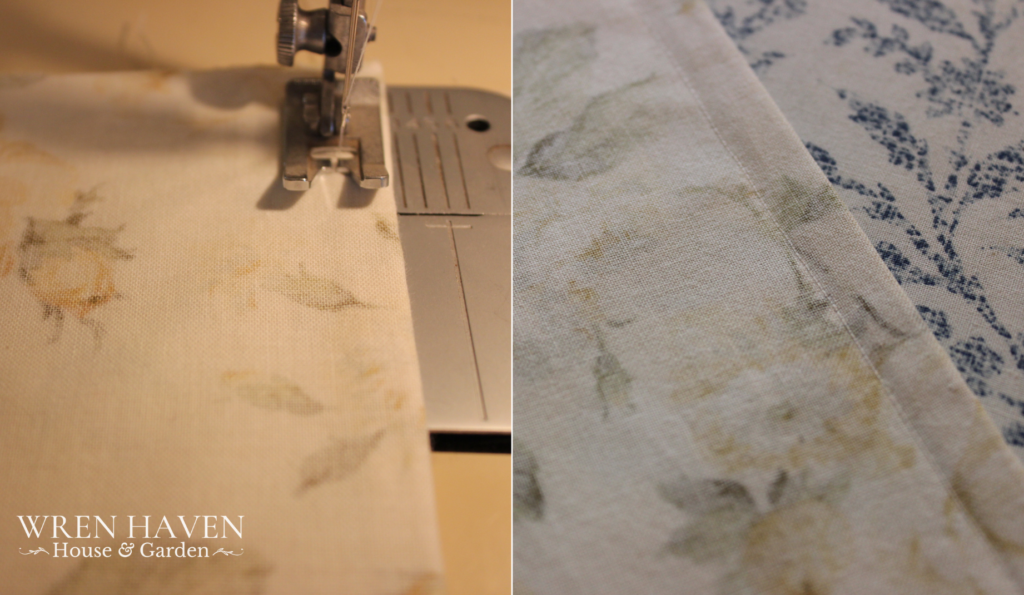
Above, you can see that the raw edge is completely concealed providing a neat clean edge. This is especially nice for garments or other pieces that will be going in the laundry.
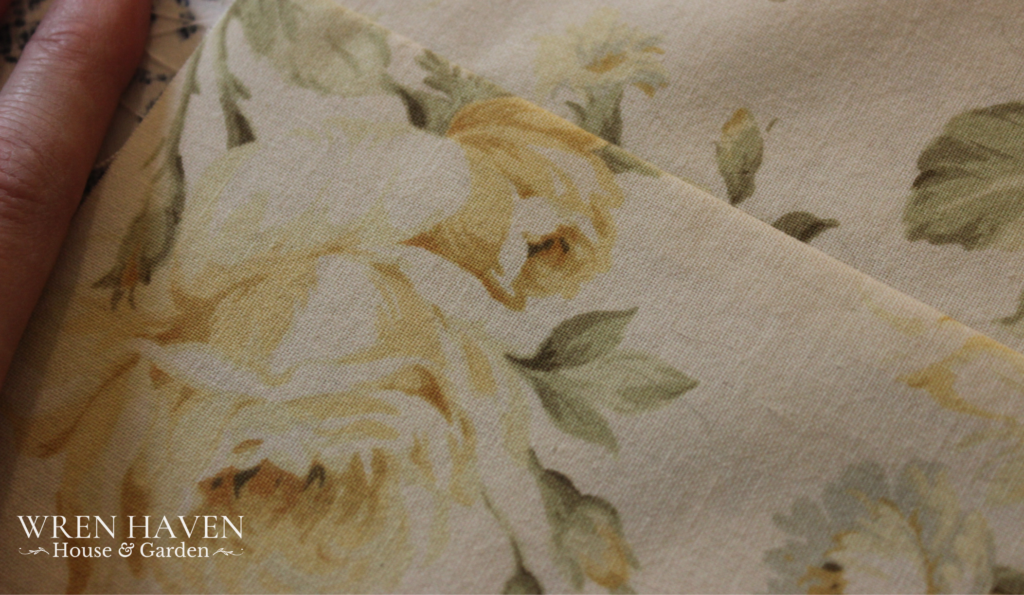
I love how neat and clean this looks. Yes, the fabric will be gathered, and so perhaps seaming it like this was not necessary. But well made things often have hidden details like this that only the crafter knows about.
That being said, if you find yourself needing to join two pieces of fabric for this project and are looking for a no-sew option, gluing the pieces together or using something like Heat-n-Bond iron-activated hem tape will certainly work in this case.
Fitting the Fabric
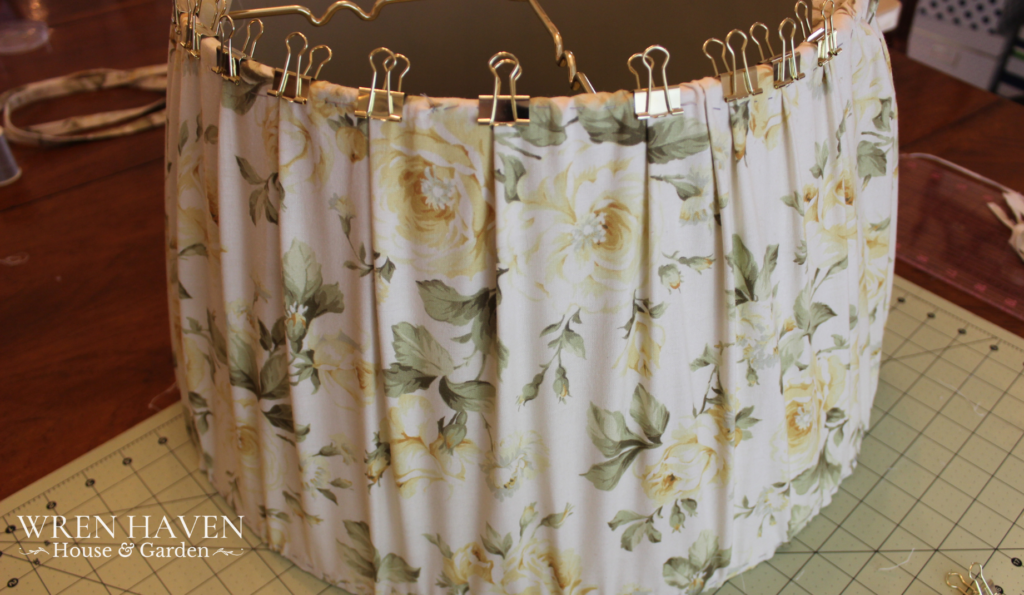
Taking this one long continuous piece I started at one existing shade seam, securing it in place temporarily with binder clips. Pins absolutely would have worked but I had lots of these little clips and they did the job brilliantly.
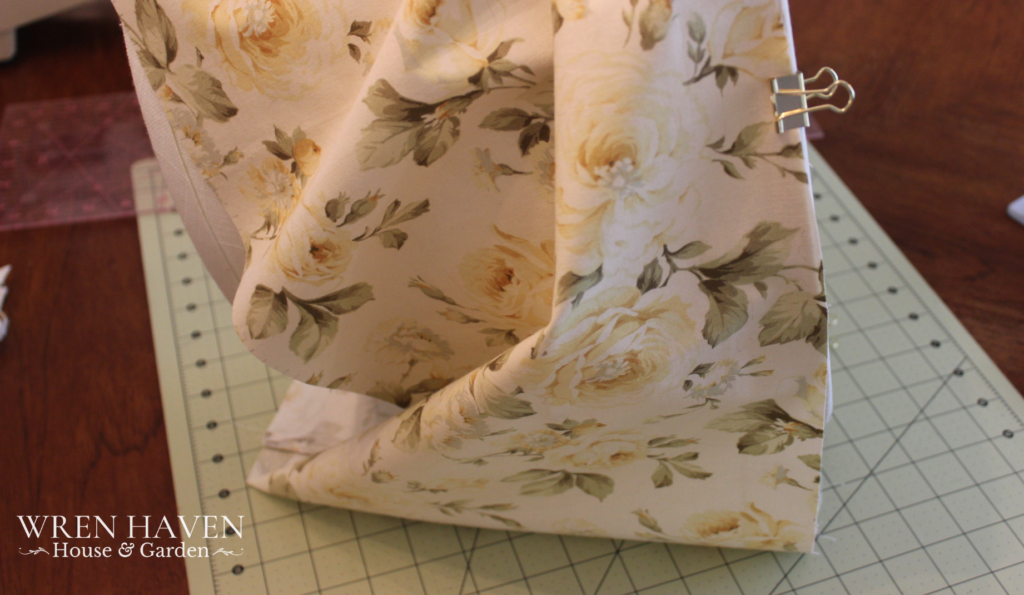
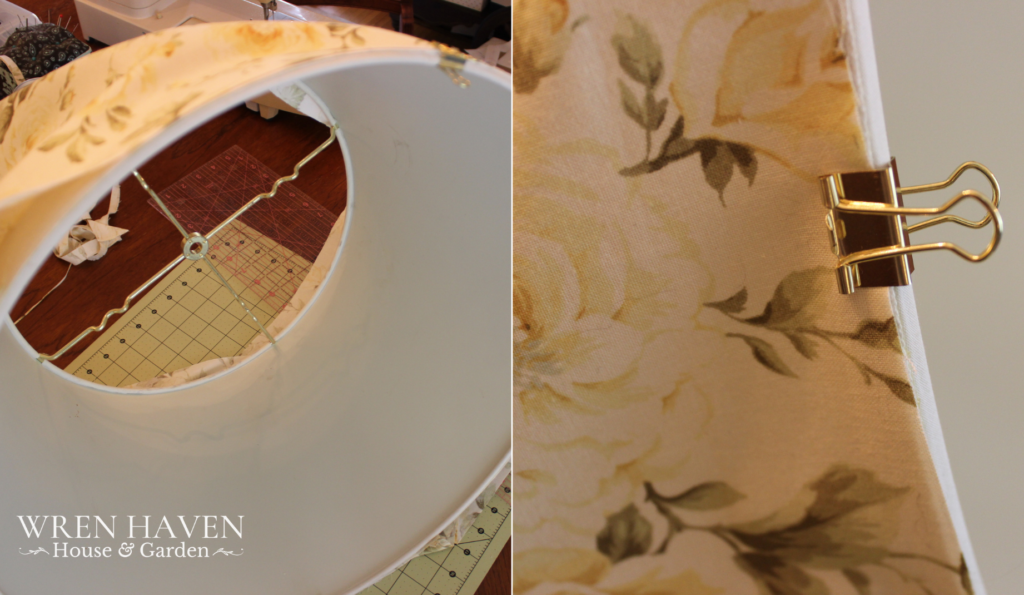
I distributed the fabric evenly over the shade in four sections and used the clips to hold it in place. Then I used a long running stitch to hand gather each section. Pulling the thread cinched it down neatly to fit the curve of the shade.
This is hard to describe on page; if you’re having trouble visualizing it my YouTube video linked at the end of this post does a much better job of explaining how this worked! The video is marked with timestamps so you can jump to the specific section you’re looking for.
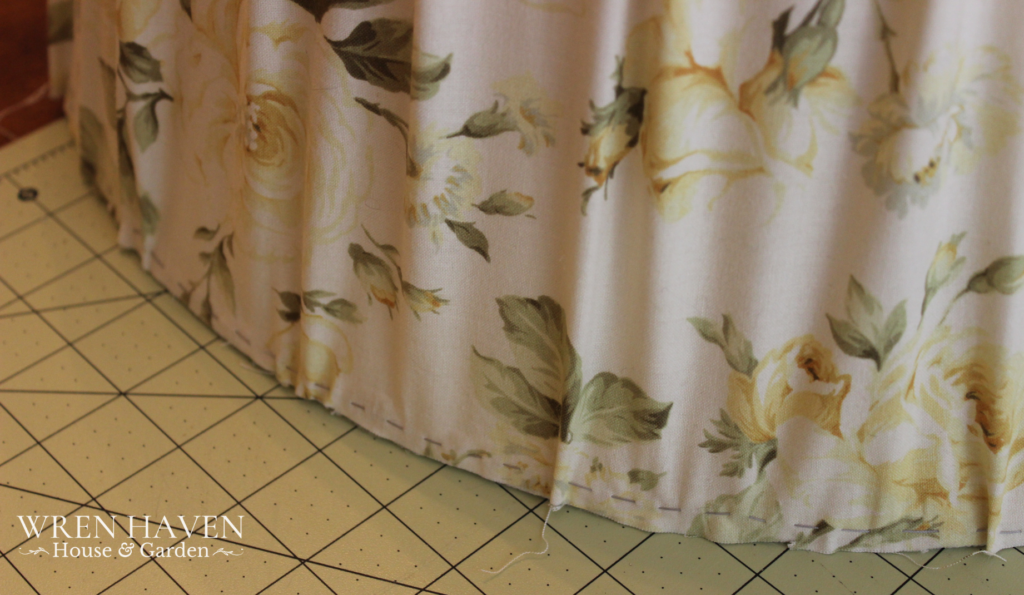
Here’s how the lower rim looked once the fabric was gathered, cinched, and glued to the edge.
Here’s a view of the top rim before gluing.
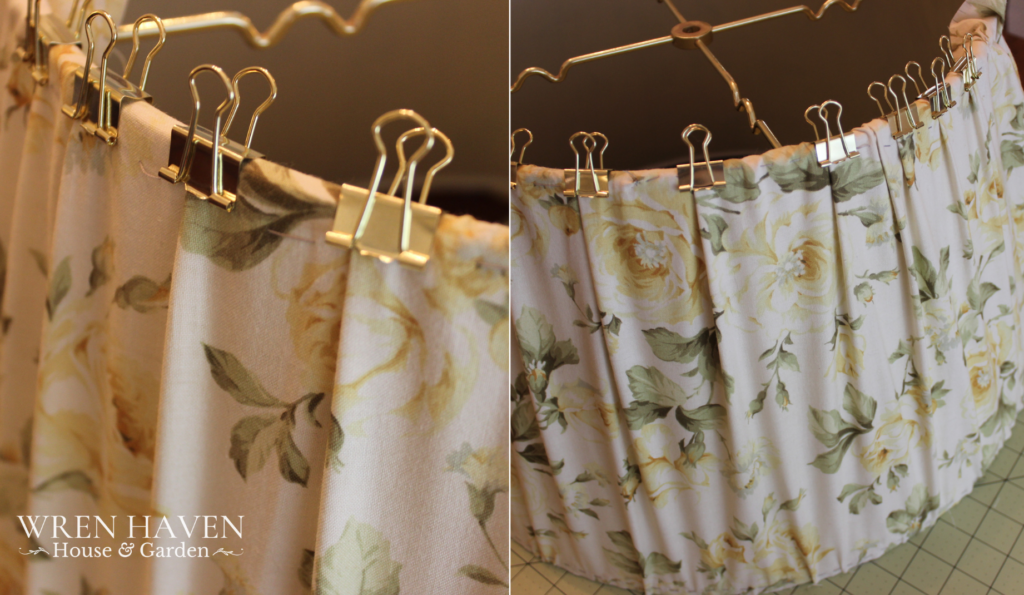
When attaching the fabric to the top rim I made sure to firmly pull the fabric upward to give some tension while also encouraging all the folds to lean in the same direction.
This gave a more structured effect and overall neater appearance.
Once the top was gathered into position and then hot glued in place I trimmed the top edge and turned it under, again using hot glue to secure it in place.
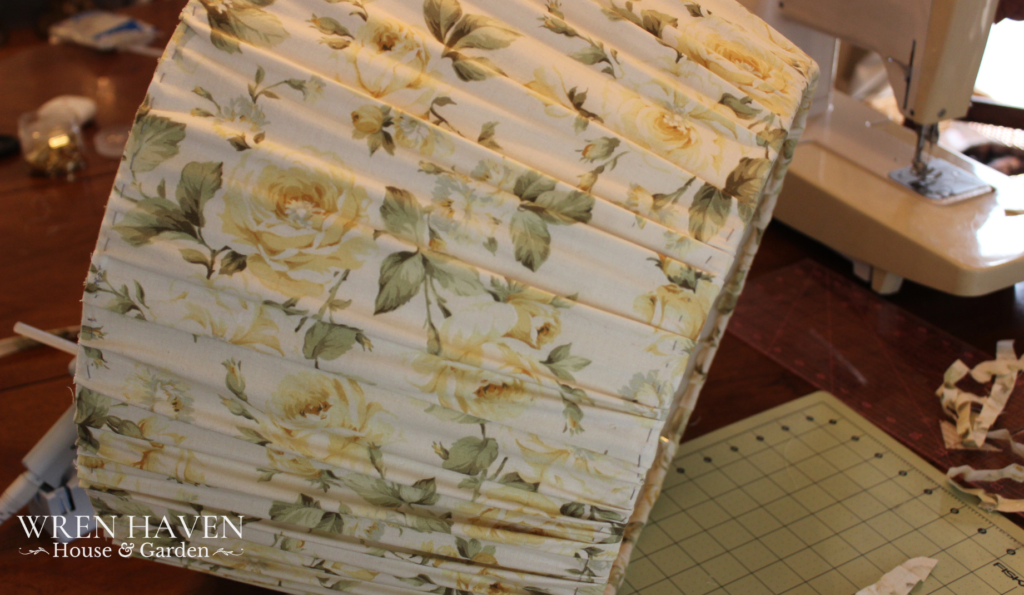
The light gray thread I used to gather the fabric was easily and neatly covered by the trim. Using a light color ensures that if any stitches do peek out from under the trim they will likely not be noticed.
No sew option: fold and gather small sections and pin them in place before gluing down.
Making Bias Tape for Self Trim
I created custom self trim from the material as though I were making bias tape. When making true bias tape for garment construction or upholstery the direction of the weave of the fabric is important and it should always be cut on a 45-degree angle from the selvedge edge. In this case the flexibility and/or stretch factor of the trim is not a factor so happily I could use all the extra fabric to create my tape.
Working with oddly shaped fabric meant I ended up with several separate 2″ sections. I joined them together to make one long continuous 2″ wide fabric strip. I then folded it in half, ironing to create a center seam to act as a guide. This was then opened back up and the raw edges were folded to that center seam and pressed into place. Finally, I folded the two clean edges together, sandwiching the raw edges into the center. I pressed this in place again and then used my hot glue gun to secure the pieces together, creating 1/2″ wide bias tape to use as trim on the edges.
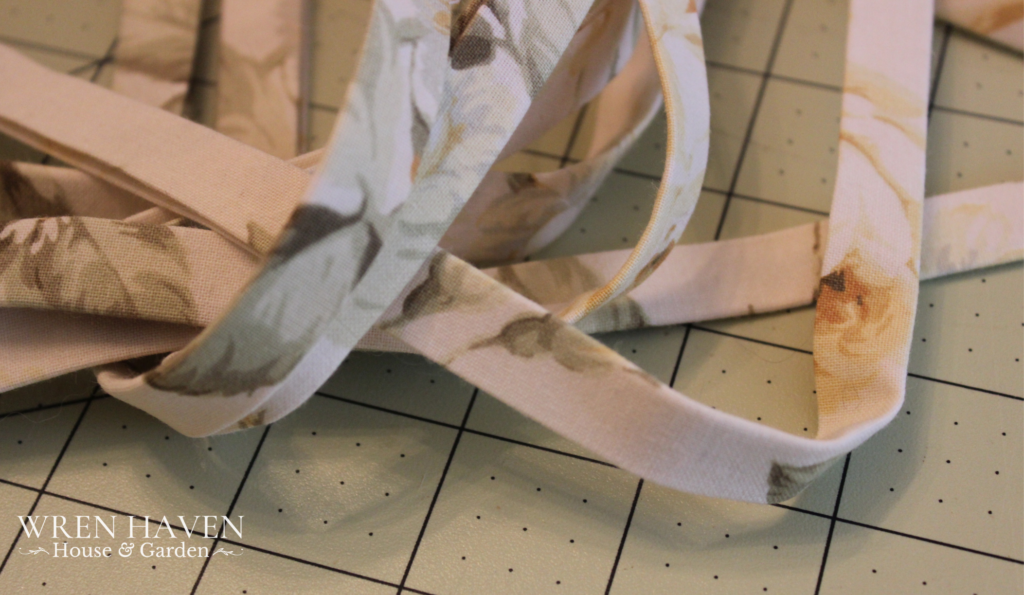
This fabric even looks pretty as a pile of bias tape! Not surprisingly, using it for this project made me fall in love with it all over again. I’m so glad I finally gave it a purpose. ♥️
Applying the Trim
For the lower rim I chose to very slightly overhang the edge with the trim. This had the effect of making the floral fabric look more like it was the original covering vs something added over the top.
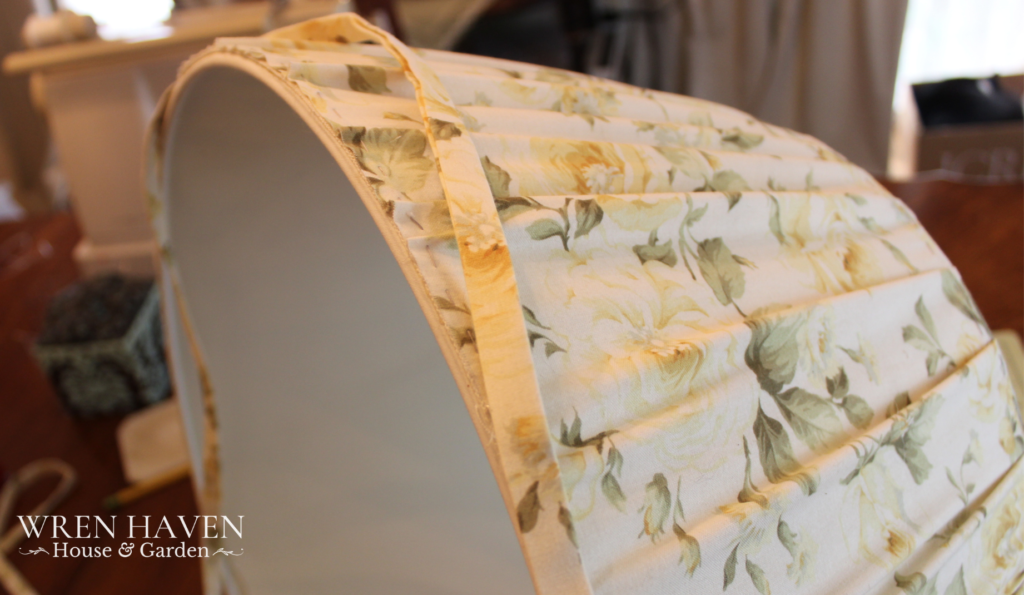
On the upper rim I lined the trim up flush with the edge of the shade.
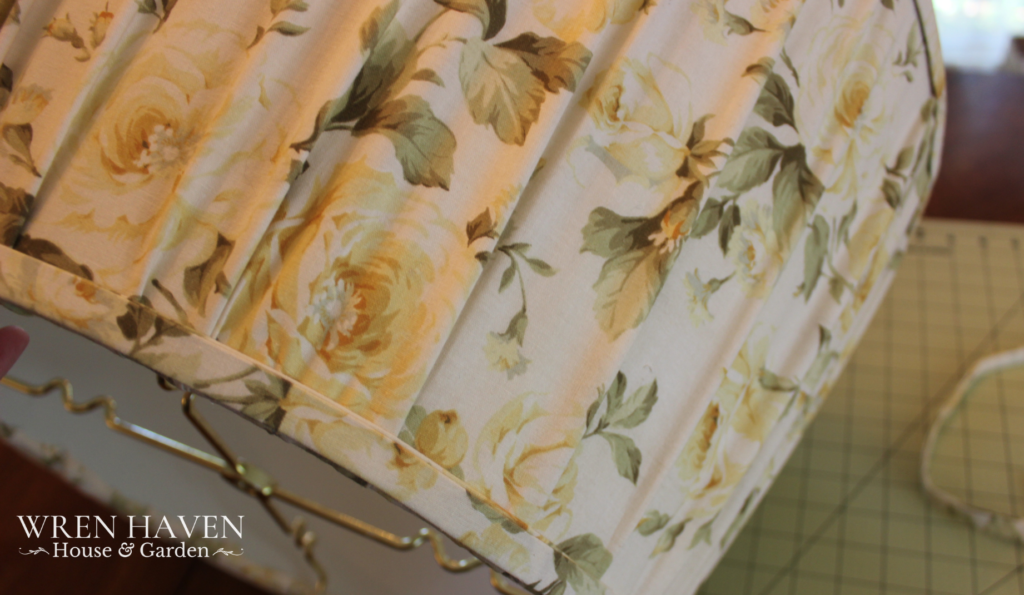
The Finished Product!
Here she is! Isn’t she pretty??
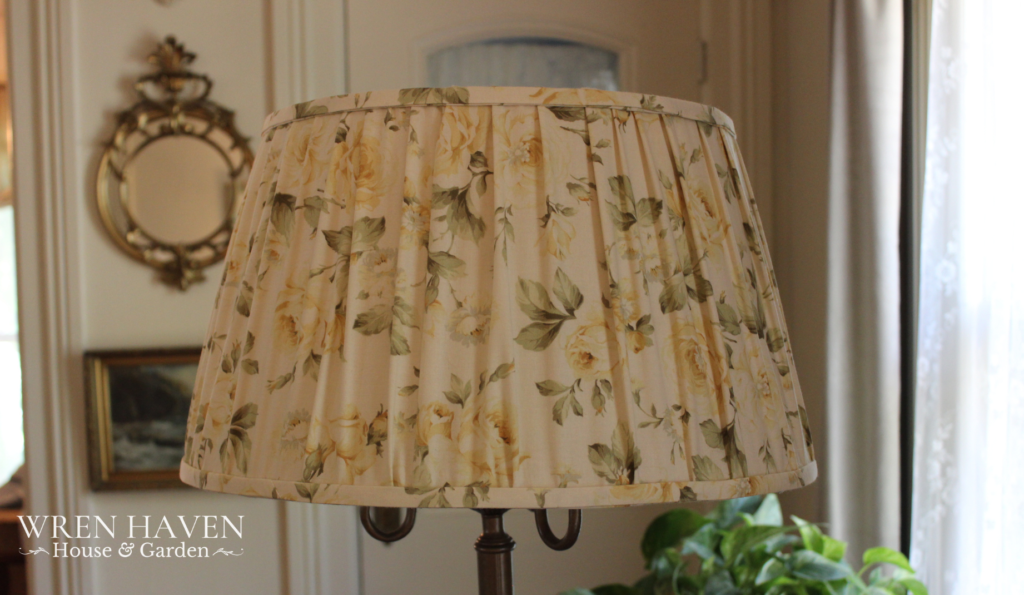
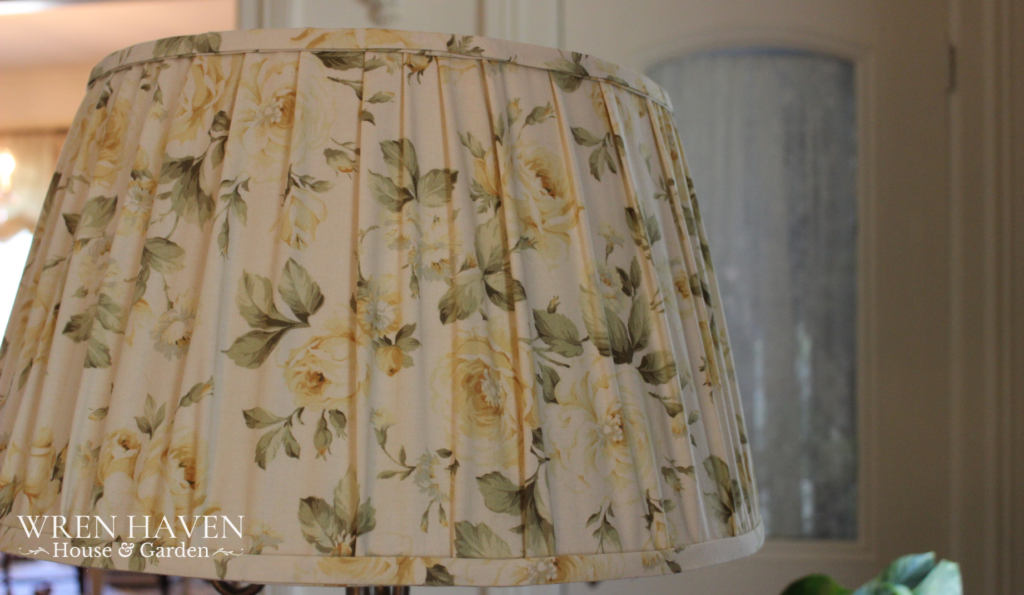
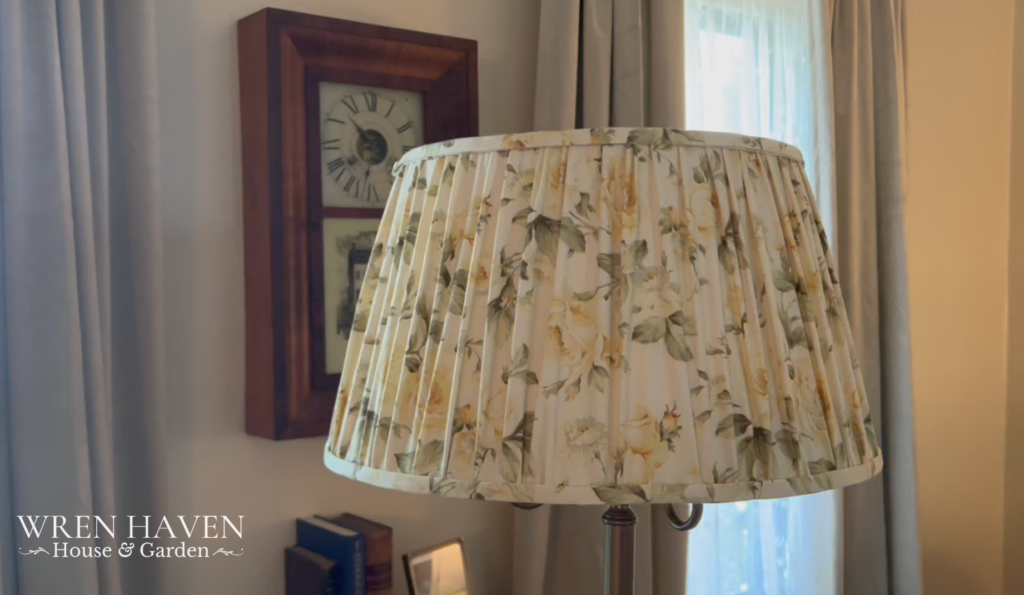
Here’s how she looks with the light on! Such a pretty warm glow!
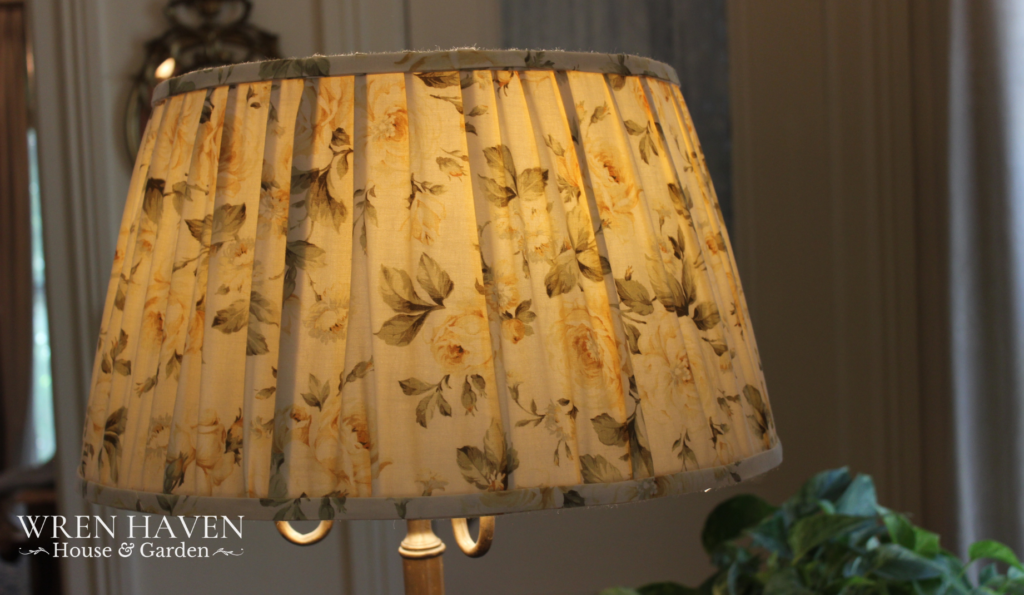
I think it went beautifully for a first attempt! In fact, now I want to level up all my shades!!
Want more detail? Here’s the video tutorial I created for YouTube!
What do you think? Have you ever recovered a lamp shade? If not, would you try this project some day?
Let me know in the comments!

