DIY Vintage Christmas Charm
Ever start a craft project that should be relaxing… but somehow becomes a gluey little disaster? I’ve been there. But once you learn a few insider tricks, these gorgeous vintage-style Christmas ornaments become incredibly fun to make — and they add the sweetest old-world charm to your tree.
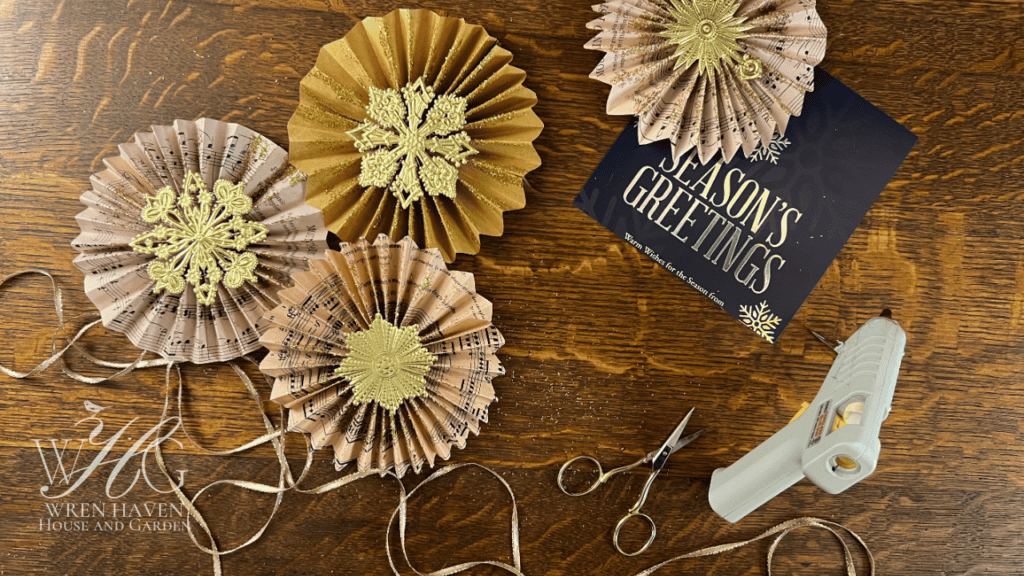
Today I’m walking you through how I create elegant fan-style ornaments using authentic Dresden die cuts, vintage-look paper, and just a hint of sparkle. You’ll get crisp edges, clean folds, perfectly sized details, and a refined finish that feels right at home on a French country Christmas tree.
Ready to create something beautiful?
Choose the Perfect Paper Base
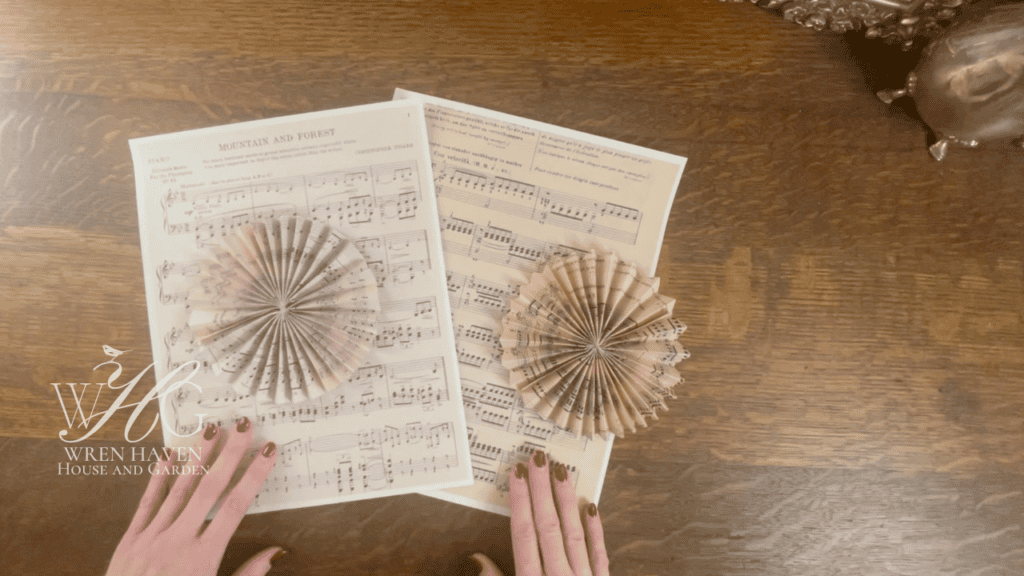
One of my favorite parts of this project is starting with vintage sheet-music paper. You can use real sheet music, pages from an old book, or printable vintage-style designs you already have on hand.
A little heads-up — vintage and vintage-look papers can vary a lot in color. I love the variety, but keep this in mind when mixing pages.
A few quick paper tips
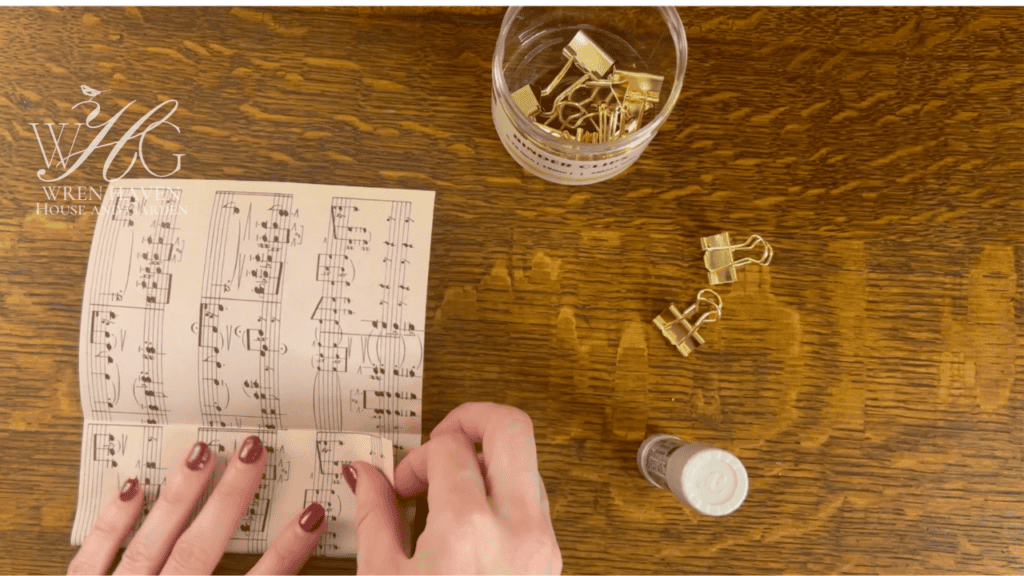
- Print on both sides if you’re using a printable.
- Trim away any white edges so everything is even.
- Once trimmed, find the exact center so you can cut the sheet cleanly in half.
Each ornament uses two paper pieces, roughly 8.5 x 5.5 inches, which we join together later.
Glue, Clip, and Prep Your Paper
Once you’ve cut your sheets, it’s time to glue them together. I like using archival glue sticks, but honestly, an Elmer’s glue stick works just fine. Even hot glue will do in a pinch.
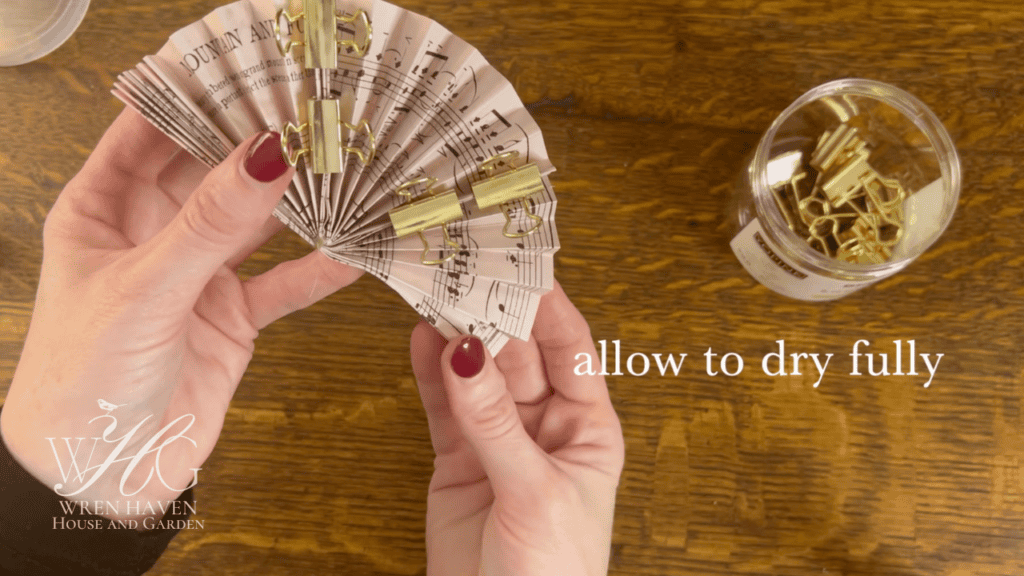
And yes… binder clips are the unsung heroes of this project. They’re like tiny clamps, and they keep your pieces firmly pressed together. My project manager (who is small and furry and has a talent for flinging things across the room) loves them a little too much — so I clip fast and keep extras handy.
How to Fold Perfect Accordions Without Measuring
Good news — you don’t need to pre-measure anything.
I simply fold the paper in half, then in half again, then again. After doing this a few times, the folds naturally start forming around half an inch, which I’ve found makes beautifully shaped fans.
Your folds don’t need to be perfect… they just need to be uniform-ish. The more consistent they are, the cleaner and fuller your fan will look.
Repeat this with both sheets. Now you have two mini accordions ready to become one.
Attach the Accordions
I’ve tried gluing the paper before folding and after folding. Honestly? It doesn’t matter — except that gluing afterward feels simpler and less fiddly.
A little musician confession — I like my sheet music to all read in the same direction. Most people will never notice, but I would notice… and it would bother me. So if you’re the same way, just take a peek before committing with glue.
Apply glue generously along the edge, press the pieces together, and run your fingers down the seam so it adheres well.
Now refold everything so you have one long accordion.
Secure the Center With Thread
Cut about ten inches of sewing thread — any color works because this part gets covered later. Wrap it around the middle of the accordion four or five times, then double-knot it tightly.
I experimented with hot glue at the center… and regretted it. It adds too much bulk and makes folding difficult, so trust me — thread is the way to go.
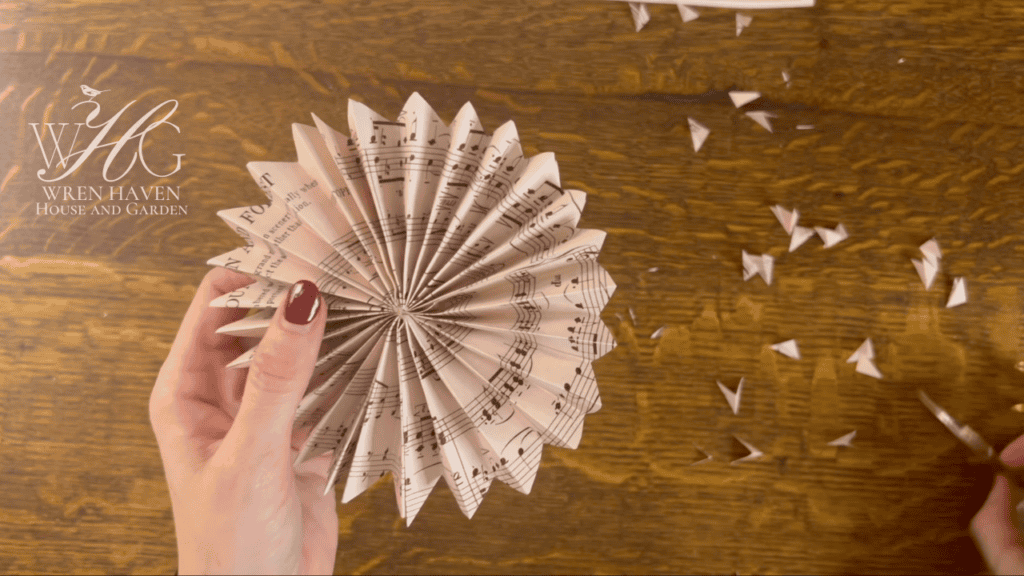
Then fold the whole piece in half. Press firmly so the paper develops a little “memory.” This helps the ornament hold its shape once glued.
Apply glue at the edges and clip them in place with your mini binder clips. It really is worth giving the glue time to dry. If you skip this, the seam may pop open later (ask me how I know).
Optional Step — Add a Snowflake-Like Trim
This part isn’t required, but I love how it looks.
Trim the corners of each fold on one half of your ornament — just little snips, one at a time. Don’t try to cut multiples at once unless you want a confetti explosion. Once you get into the rhythm, it goes surprisingly fast and adds the prettiest lace-like detail.
Bring in the Dresden Magic
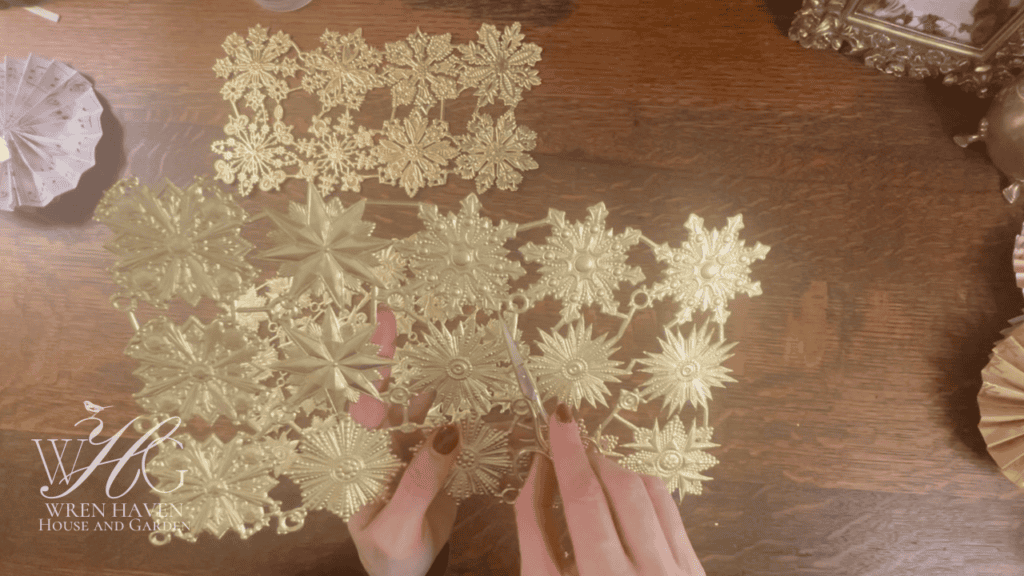
Now for my favorite part — embellishments!
I’m using Dresden die cuts from the Anna Griffin holiday line, but there are gorgeous options all over Etsy and eBay. These traditional German-style decorations date back to the late 1800s, and they bring an authentic old-world feel that pairs beautifully with French country Christmas decor.
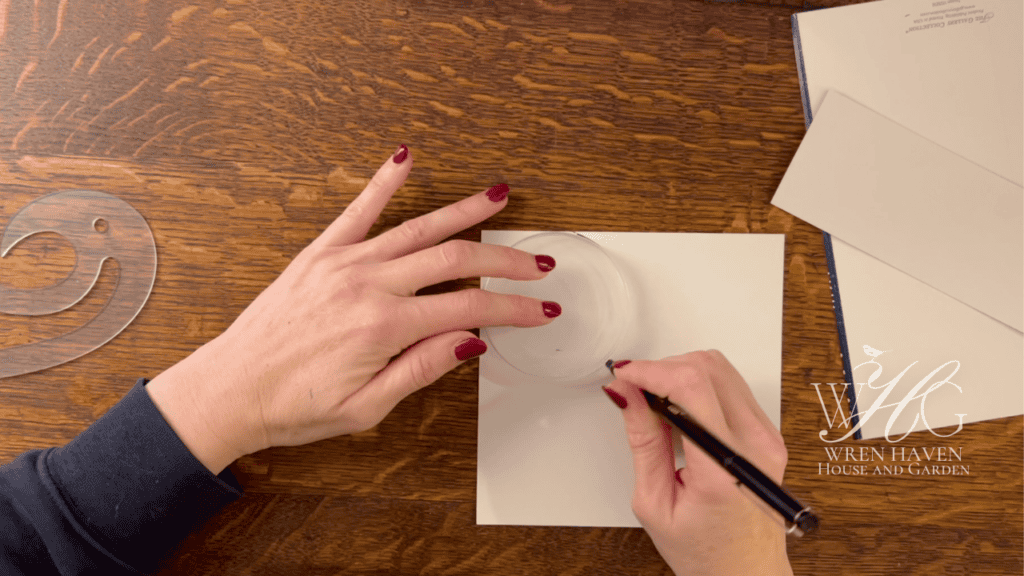
If you have old Christmas cards, leftover ephemera, or pretty packaging you can reuse, this is a perfect project for that too. I grabbed the lid of a small container to trace a circle on the back of this Christmas Card I’ll be layering beneath a large Dresden medallion — use whatever you have nearby.
A Touch of Sparkle
Glitter is extremely polarizing. Some people want the full snow-queen effect, and others would rather never see another sparkle again.
If glitter isn’t your thing, feel free to skip this step completely.
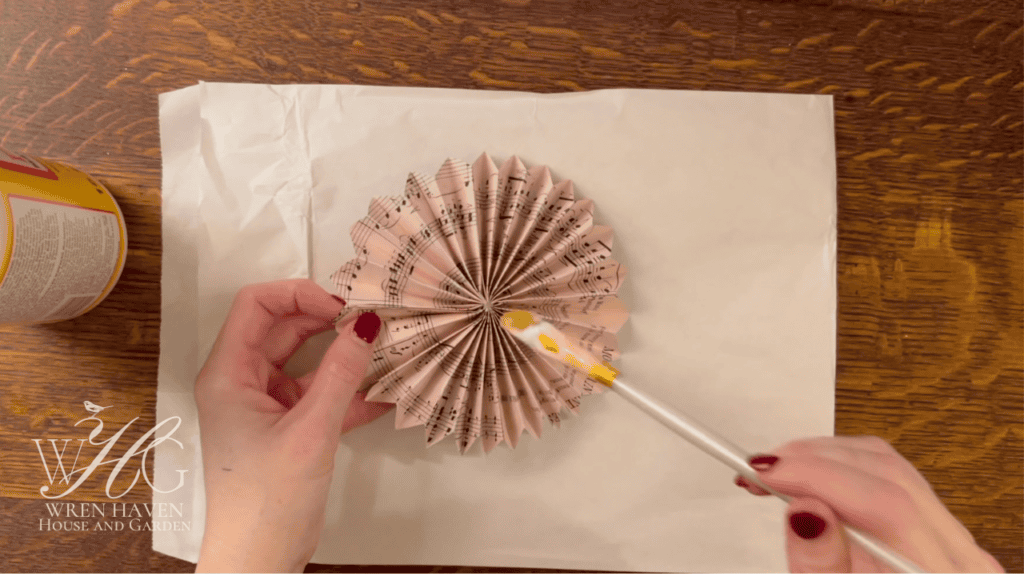
I use Mod Podge very sparingly — just enough to catch the light without taking over the ornament. But remember, it’s your craft. Add as much or as little as you like.
Someone recently commented that they couldn’t tell the difference between my glittered pinecones and my plain pinecones in another project… which made me laugh. If you want more glitter, absolutely go for it.
When finished, tap off the excess and let it dry fully before moving on.
Attach the Dresden Layers
Once your ornament is dry, grab your hot glue gun.
Add a generous dot of glue right in the center and press your first Dresden medallion into place. You might notice your folds aren’t perfectly even — I actually think this adds charm. Handmade pieces should look… well, handmade.
The Anna Griffin Holiday kit I’m using includes three sizes
- 2.5 inch
- 1.5 inch
- 1 inch
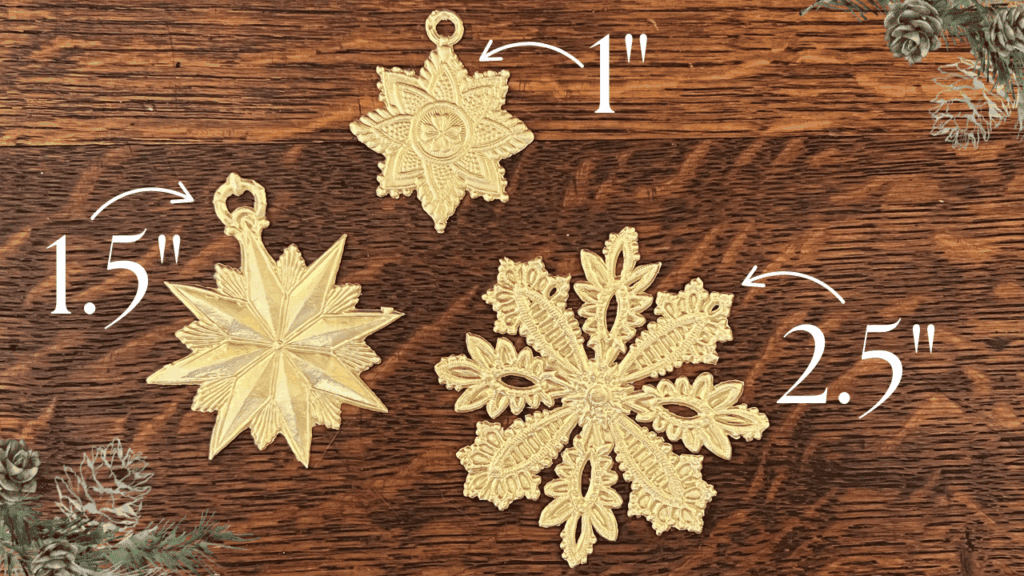
To show the difference, I used the smallest on one side and the largest on the other. It’s amazing how dramatically the look changes based on which size you choose.
Personally, I love the big ones. They feel impactful and elegant on a tree.
Enjoy Your Beautiful Old-World Ornament
These little darlings turned out so sweet, and they’ll be making their debut on my French country Christmas tree this year. If you try making your own, I would love to hear how they turn out.
Happy Christmas — and happy crafting.
Until next time!